




























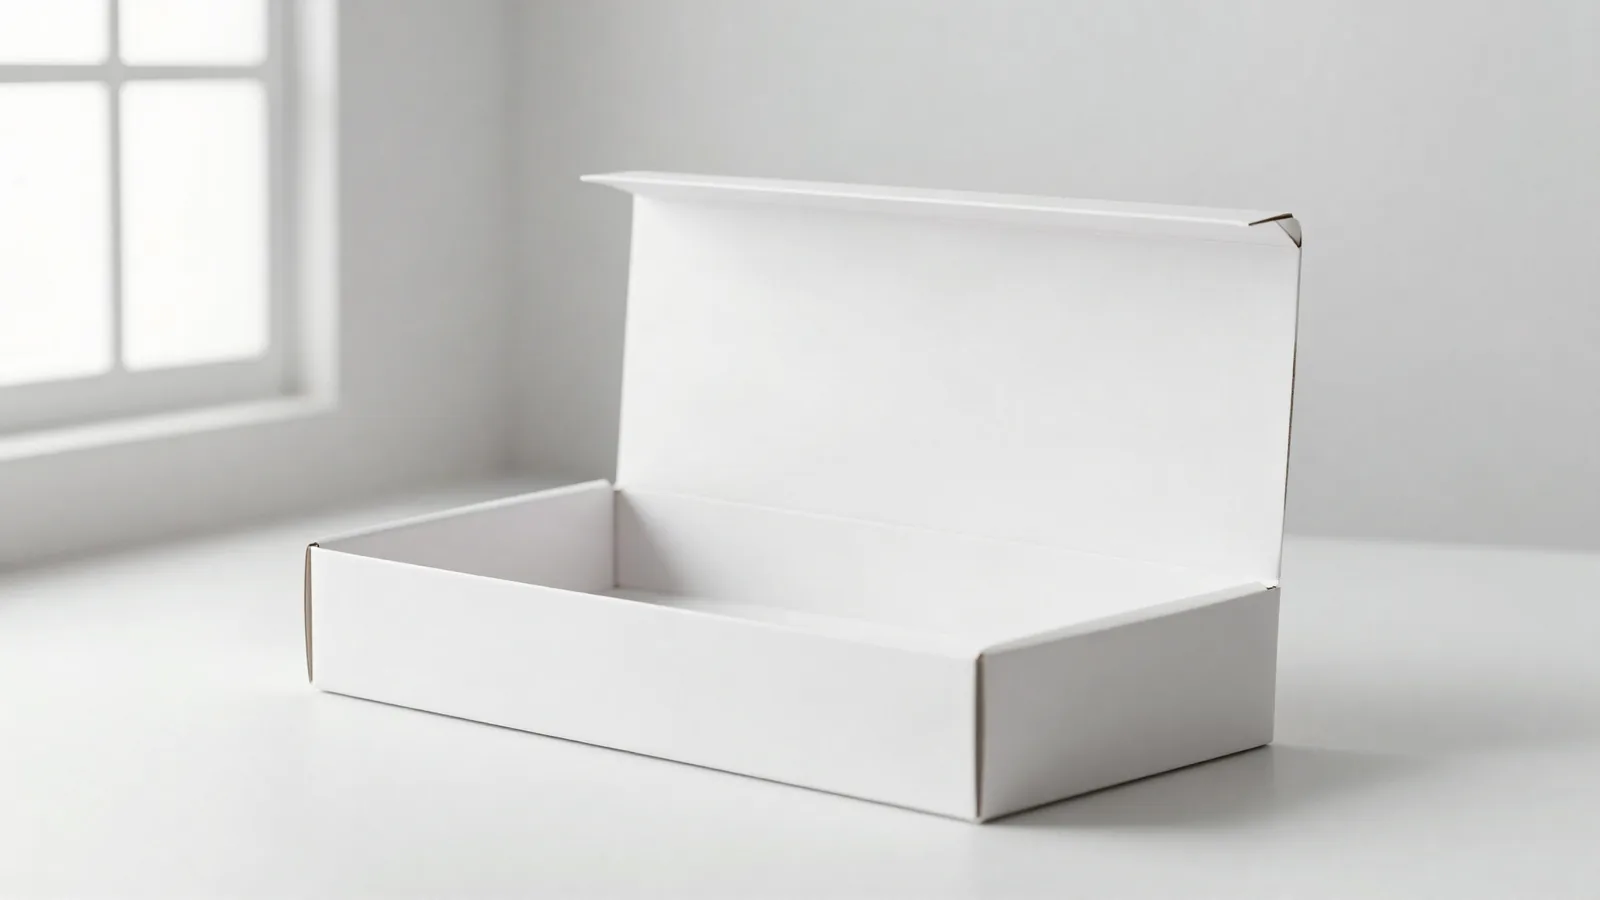




















































A pop up display box is a printed package that folds or opens into a freestanding retail presentation. A dieline is the flat cutting template that shows cuts, scores, folds, glue tabs, and panel boundaries before the box is made. The brief needs both states: the closed package and the formed display. A product can look right on the flat file and still hide its logo after setup or leave a tray too shallow for the packed item.
What makes a pop up display box different?
A pop up display box is specified by its opening action, formed position, and product access. Write the setup as an instruction: open this panel, lock this tab, load the product from this side, and face this panel toward the shopper. That sequence gives the structural drawing a job to solve.
Record the product footprint, product count, display height, base position, loading direction, and available counter or shelf space. If staff will restock the display, say where replacement product enters. Replenishment means loading replacement product into the display, and the path needs to remain clear after the display is formed.
Which pop up display style fits your retail setup?
The right display style follows the surface, product view, and replenishment path.
| Display direction | Setup focus | Artwork priority | Buyer question |
|---|---|---|---|
| Pop up display | Opening action, base position, and stand up orientation | Front panel and top message | How should the package unfold into view? |
| Window display | Product position behind the opening | Window frame and product-facing area | What should the shopper see first? |
| Retail display | Fixture footprint and replenishment path | Shelf-facing panels | How will staff restock the display? |
| Product display | Single-product framing and access | Product name, image, and callout space | Which detail gets the main panel? |
| Jewelry display | Small-product placement and insert position | Focused branding with clear visibility | How should the item sit when opened? |
How should you plan the pop up display structure?
Plan the structure from the packed product outward. Use the product dimensions and the usable retail surface first, then set the closed state, setup action, open state, and replenishment path. Mark the front, side, back, base, header, flap, glue tab, and any area that must stay clear of a score or closure.
Check the assembled height before the artwork is finished. A logo placed on a folded panel can disappear behind the header. A product loaded from the wrong side can force staff to turn the display around. Put those decisions in the brief and show them in the proof.
What materials and finishes suit a retail display?
Material and finish choices change both the display's behavior and the way shoppers read the printed panels. CPL's display catalog includes stock, kraft, corrugated, rigid, metallic, and textured or linen directions. Kraft and white board present color differently, while corrugated and rigid constructions change how the display holds its shape.
Matte lamination reduces reflected light on broad panels. Gloss lamination throws more light back and makes surface marks easier to see. Soft-touch changes the feel in the hand. Foil creates a metallic detail, embossing raises the paper surface, and spot UV puts a glossy area over selected artwork. Keep the finish tied to the panel the shopper will actually see.
How should artwork follow the fold?
Place artwork from the assembled view backward. Keep type, logos, and barcodes away from scores, cuts, glue tabs, and fold overlaps. Leave the printer's standard bleed allowance around cut edges. Low-resolution art can look soft in print, and RGB art can shift when it is converted for press, so the digital proof is the place to check color, size, and placement.
Show the display closed and formed. Check that the main message faces the shopper at the intended height, then check side and rear panels for copy that becomes hidden. A press check looks at ink coverage, registration, folds, and finish on the printed sheet. The proof should make those checks possible before production begins.
Which CPL products can help compare display formats?
Start with pop up display boxes for the direct format. Compare window display boxes when the product needs a framed opening. retail display boxes help define fixture and restocking needs, while product display boxes focus the brief on one product view. For a smaller item, jewelry display boxes provide another reference for placement and insert planning.
What should you send for a pop up display quote?
A useful quote request names the product, display footprint, product count, loading direction, open and closed positions, fixture context, insert or divider plan, artwork status, finish preference, quantity, and delivery destination. State who will set up and restock the display. If several products share one display, identify their order and front-facing priority.
The $19.99 sample kit can be credited toward the first order and can help compare structure, surface feel, and opening behavior. For a broader planning route, use CPL's custom packaging solutions resource.
What are the MOQ, price, and production terms?
CPL custom pop up display box orders use a 100-unit MOQ. Pricing may be from $0.49 per unit at volume, quoted to spec. Production is typically 8 to 10 business days after proof approval, plus delivery. Free US shipping and free design support are available.
How do you approve a pop up display proof?
Approve the digital proof after checking the closed state, setup action, base position, product placement, shopper-facing artwork, viewing height, replenishment path, and fixture footprint with the packed product. Send the product dimensions and a photo of the filled display before the proof is finalized.
Frequently Asked Questions
How does a pop up display box work in a store?
A pop up display box folds or opens into a formed retail presentation, then holds the product in a planned shopper-facing position. The quote should identify the setup action, base, loading direction, product count, viewing height, and restocking path. The digital proof should show both the closed package and the assembled display.
How do I choose a pop up display box style?
Choose a pop up display box style from the product view, retail surface, and handling path. A pop up format centers on its opening action, a window display centers on product visibility, and a retail display centers on shelf placement and replenishment. Check the chosen structure with the packed product before approval.
What finishes can be used on a pop up display box?
A pop up display box can be discussed with matte or gloss lamination, soft-touch, foil, embossing, coating, and spot UV directions. Matte reduces reflected light, gloss creates a brighter surface, and spot UV adds gloss to selected artwork. The digital proof should show the finish on the assembled shopper-facing panel.
What should I include in a pop up display box quote?
A pop up display box quote should include product dimensions, product count, open and closed positions, display footprint, loading direction, insert plan, artwork status, finish, quantity, and delivery destination. State who will set up and restock the display. Those details let the dieline and proof match the actual retail job.
What are the MOQ, price, and timing for pop up display boxes?
Custom pop up display box orders use a 100-unit MOQ. Pricing may be from $0.49 per unit at volume, quoted to spec. Production is typically 8 to 10 business days after proof approval, plus delivery. Free US shipping and free design support are available, and the $19.99 sample kit can be credited toward the first order.












