




























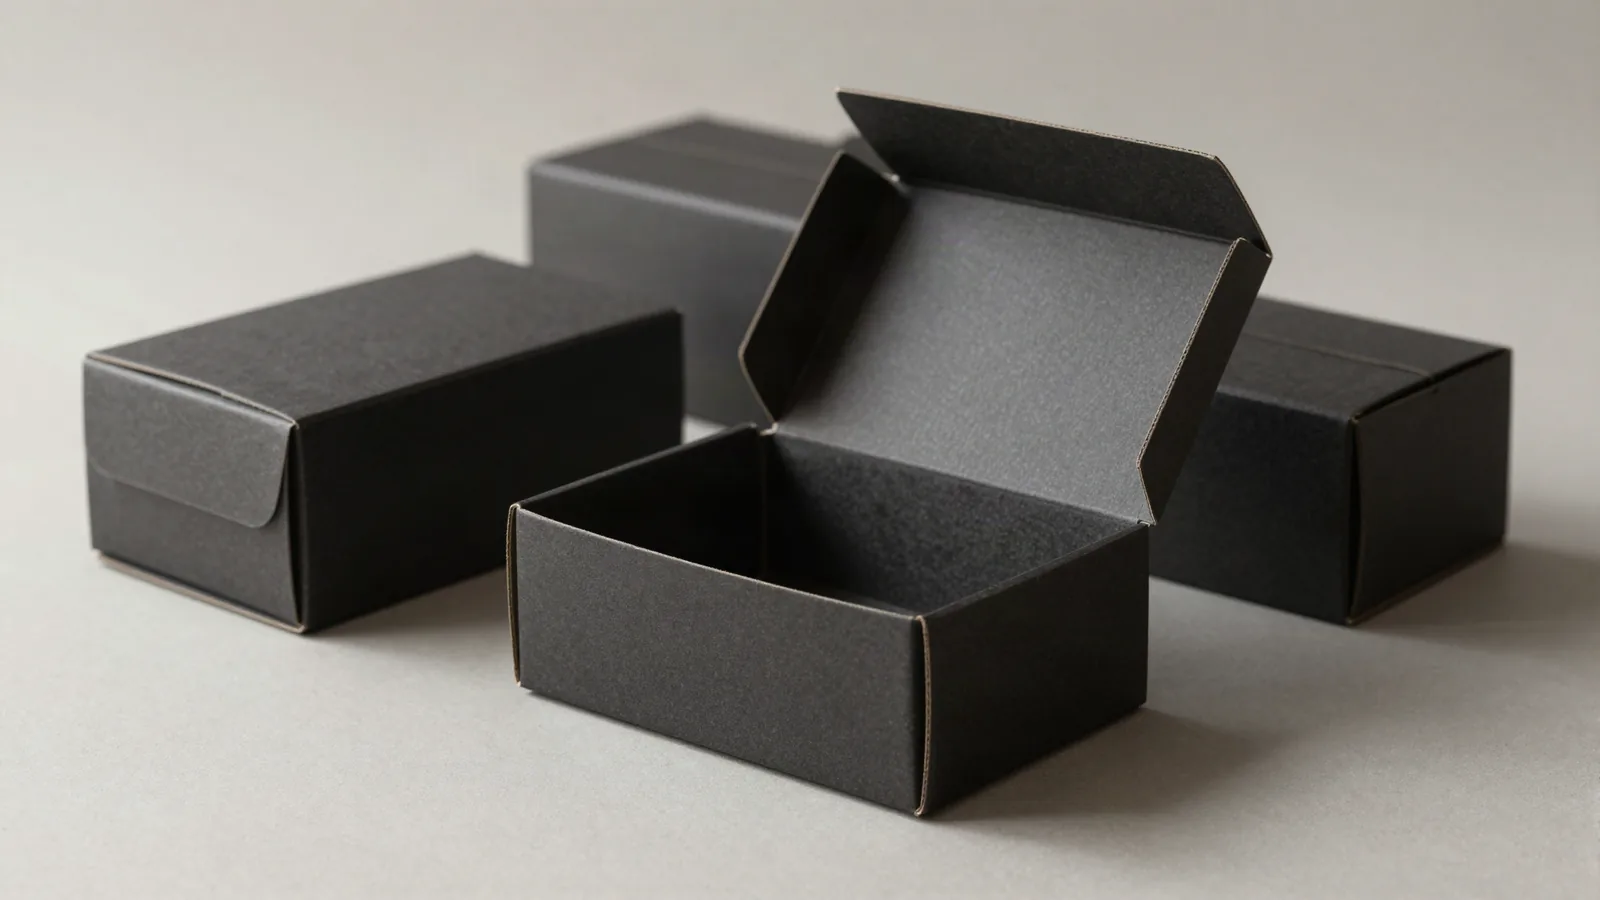




















































Custom filling and packaging starts with the item as it will be packed. Write down whether it is a loose item, a measured portion, a set of components, or a filled container, then separate the primary package, liner or closure, insert, presentation layer, and shipping layer. A dieline is the flat cutting template used to print and cut a package. Catalog references include custom tin packaging, custom taper candle packaging, custom stevia packaging, and custom sleeve and tray boxes. Use custom packaging solutions to compare format directions.
What belongs in a filled-product packaging brief?
The product in its final packed condition supplies the measurements that matter. Record the shape, fill level, closure, orientation, and handling path. Note where filling or final assembly occurs, who supplies each component, and which surfaces need artwork.
| Brief item | Record this | Why it changes the design |
|---|---|---|
| Primary package | Container profile, opening, closure, orientation | Sets the cavity and loading motion |
| Fill or contents | Loose item, measured portion, set, filled container | Separates internal fit from presentation |
| Secondary package | Carton, sleeve, tray, tin, insert, outer shipper | Sets the assembly order |
| Artwork route | Printed panels, label, sleeve, window, blank surface | Places graphics on surfaces that stay visible |
Write dimensions as length x width x depth, and label each value as an inside measurement or outside target. About 1/16 in, or 1.5 mm, is a common planning tolerance reference, but board caliper, scores, closure geometry, and product variation affect the finished fit. Measure the actual product with its closure and any wrap or liner in place.
Which materials fit a filled-product package?
SBS, C1S, and C2S paperboard are common folding-carton references in the 12 to 24 pt range. Kraft board is commonly discussed around 18 to 24 pt when a natural surface or different stiffness is wanted. Rigid packaging uses chipboard around 1.5 to 3 mm wrapped in 100 to 157 gsm art paper, so it holds shape without folding.
A corrugated outer package may use E, B, or C flutes, with 32 ECT as a common strength reference. Flexible fill formats can use mylar or foil laminates built from PET, AL, and PE layers. PET can support print, AL can add barrier and opacity, and PE can provide the sealant layer. Ask us about food-contact options for your product when contents touch the package.
Which structures make filling and closing easier?
The opening direction determines whether a carton loads cleanly from above or needs a different setup sequence. A straight tuck end and reverse tuck end create different closing directions. An auto-lock bottom forms through folding, while a crash-lock base uses a pre-glued structure that opens into shape.
A sleeve and tray separates the product reveal from the outer wrap. A roll end tuck top mailer, commonly associated with FEFCO 0427, can combine presentation with delivery handling. Two-piece rigid, magnetic flap, drawer or slide, pillow, and gable structures create different entry and removal motions. Choose from the fill path, then place the visual treatment around it.
How should artwork and finishes follow the fill path?
The proof should show every surface in the package's open and closed positions. Map the front panel, opening edge, seam, glue area, sleeve overlap, insert coverage, and any hidden panel before approving print. Offset CMYK suits detailed paperboard graphics, while digital printing can suit a short-run concept or artwork that may change.
Matte or gloss lamination changes the surface sheen. Soft-touch, spot UV, foil stamping, embossing, and debossing are separate finish choices. Window patching needs a mapped PET area, with PET windows commonly around 0.2 to 0.3 mm. Keep type away from scores, closures, glue zones, and the fill opening. Low-resolution art, RGB files converted for press, missing bleed, and copy placed too close to a score belong in the proof review.
What should I check before approving the proof?
The first check is physical: the product must enter, settle, close, and leave in the intended orientation. Then inspect the cavity, closure, insert, liner, accessory clearances, panel order, fold direction, glue zones, bleed, safe areas, and delivery package.
- Confirm the product and closure fit the cavity.
- Check insert, liner, and accessory clearances.
- Review folds, scores, seams, glue zones, bleed, and safe areas.
- Match the proof to the real filling or assembly sequence.
- Flag food-contact questions before finalizing the package.
A flat file can hide interference around lids, scores, narrow openings, and inserts. If an insert is cut to the exact product size, confirm that the product is held without rattling after closure.
How do I start a custom filling and packaging quote?
A useful request includes product dimensions, packed orientation, fill or assembly details, closure, insert needs, structure, material direction, artwork status, finishes, quantity, and delivery destination. Custom Packaging Lane quotes to a 100-unit minimum, with pricing from $0.49 per unit at volume, quoted to spec. Production is typically 8 to 10 business days after proof approval, plus delivery. Free US shipping, free design support, and the $19.99 sample kit, credited to the first order, give you a concrete starting point.
Frequently Asked Questions
What is the difference between filling and packaging?
Filling is the step where a product or measured portion goes into its primary container. Packaging includes that container, its closure, insert, carton, sleeve, label, and outer shipping layer. A project is easier to specify when the loading order and component ownership are written down before the outer package is sized.
How do I plan packaging for a product that must stay upright?
An upright package needs the base footprint, tallest packed point, closure, and support points recorded together. Measure the product with its closure, wrap, or liner in place, then show how it enters and leaves the package. A carton, sleeve and tray, tin, or rigid structure can be compared against that actual loading motion.
When should I use a sleeve and tray box for filled packaging?
A sleeve and tray box fits a brief where the tray positions the product and the sleeve controls the reveal. Record the tray depth, contact points, sleeve direction, and removal motion before placing artwork. The two parts can then be checked separately during loading and removal.
What printing process is common for detailed filled-product packaging?
Offset CMYK is commonly used for detailed paperboard graphics, gradients, and broad coverage. Digital printing can suit a short-run concept or artwork that may change. Flexible film may use flexographic or digital printing, depending on the laminate and production plan. Compare the process with the substrate, coverage, folds, seams, and closure zones.
What should I send for a filling and packaging quote?
A filling and packaging quote needs product or container dimensions, packed orientation, fill or assembly details, closure, insert needs, structure, material direction, artwork status, finishes, quantity, and delivery destination. Photos or a sketch help when the loading path is unusual. Separate the primary package from the presentation and shipping layers.












