











































A dieline in packaging is the flat structural drawing used to show how a package will be cut, folded, glued, perforated, and assembled. It connects the finished package to the artwork file. Panels that look separate on a screen become a physical package only when their cuts, folds, flaps, and safe artwork zones are mapped correctly.
What does a production packaging dieline contain?
A production packaging dieline contains cut lines, score lines, glue areas, perforations, panel boundaries, bleed, and safety margins. A cut line shows the outside shape. A score line shows where board bends. A glue area identifies where panels join. A perforation marks a controlled tear. Bleed extends the printed background beyond the cut edge, while a safety margin keeps type and marks away from movement.
| Dieline element | What it controls | Artwork action |
|---|---|---|
| Cut line | Finished outside edge | Keep type and marks inside the safe area |
| Score line | Where board bends during assembly | Check any artwork that crosses the crease |
| Glue area | Where panels join | Keep copy and codes clear of the joining zone |
| Perforation | Where the user tears the package | Place the opening message beside the tear path |
| Bleed area | Background beyond the cut | Extend the background past the marked edge |
| Safety area | Buffer around trim and movement | Keep logos, type, and codes inside the marked zone |
How do bleed and safety margins work on a dieline?
Bleed keeps a background running past the cut edge, while a safety margin keeps important artwork away from that edge and nearby structural movement. Both are part of the current CPL template for the selected package. Use the value marked on that template instead of copying a generic measurement into the file.
The amount of movement depends on the structure and the production file. A background that stops at the cut can leave a thin unprinted edge after trimming. Type placed too close to a score can sit on a crease after assembly. The practical check is simple: extend backgrounds into the marked bleed, then keep logos, copy, and codes inside the marked safe area.
How should artwork sit around cuts and scores?
Artwork should follow the assembled package, not only the flat sheet. Keep the working file layered, with structural guides separate from print artwork, and inspect every panel after a fold or turn. A low-resolution image can look acceptable at a glance and break down on the printed surface. RGB artwork can also shift when it is converted for press, so confirm the requested file setup before approval.
- Keep type away from cut lines, scores, glue tabs, and perforations.
- Leave bleed on backgrounds that reach a trimmed edge.
- Check that a barcode remains clear and upright on its finished panel.
- Confirm that the front, back, and side panels face the right direction.
- Keep the original file so a change does not require rebuilding the structure.
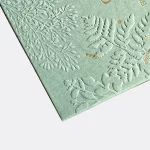
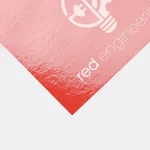
Finishes also belong in the file notes. Mark any foil, spot UV, or laminate direction on the production file and keep those instructions separate from the structural guides. A dieline is a working map, so flattening it before the artwork and finish notes are settled can hide the information needed for a correction.
Which packages need a custom dieline?
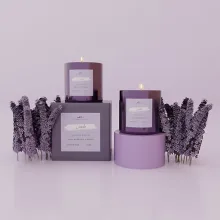
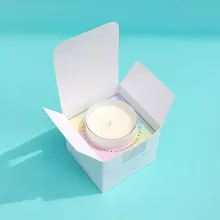
Any custom package with a defined cut, fold, opening, or insert needs a structural drawing that matches its dimensions. Wine box packaging is a useful reference when the structure has a clear front, side, and opening direction. A bottle or product cavity must be placed in relation to those panels, not guessed from a flat artwork file.
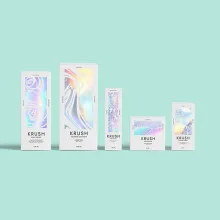
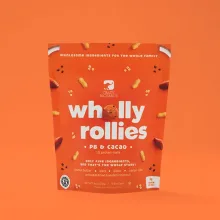
Private label packaging can need brand panels, instructions, and codes arranged around the structure. Perforated packaging shows why the cut, perforation, and user action need to be planned together. These product pages give format examples. The custom dieline still follows the selected dimensions and construction.
What file should you send with a packaging dieline?
Send the current structural file, artwork, logo, copy, images, color direction, and instructions about folds or finishes. Vector artwork keeps edges crisp and makes edits easier. Keep print elements separate from construction marks, preserve the source file, and label anything that should not print.
CPL's custom packaging design support is free. Send an imperfect file rather than rebuilding the package around an unverified template. The design team can organize the artwork around the supplied structure, then send a digital proof before anything prints.
What happens when the proof is approved?
When the proof is approved, the buyer has accepted the proposed structure, artwork placement, copy, orientation, and finish direction for production planning. Production is typically 8 to 10 business days after proof approval, plus delivery. A custom order uses a 100-unit MOQ, and pricing is from $0.49 per unit at volume, quoted to spec.
Free US shipping and free design support are available. The $19.99 sample kit gives the team a physical construction and surface direction to handle before final approval. Keep the approved dieline with the order record so later artwork uses the same panel names and structural reference.
Frequently Asked Questions
Does every packaging dieline need bleed?
A packaging dieline needs bleed wherever a printed background reaches a trimmed edge. Bleed extends that background beyond the cut so a narrow unprinted edge does not appear after trimming. The required value comes from CPL's current template for the selected structure, so use that marked value rather than a generic measurement.
Where should type sit near a score line?
Type should stay inside the safe area and away from a score line unless the assembled result has been checked. A score is where the board bends, so letters can distort or become hard to read across the crease. Keep logos, copy, and codes clear of the score and glue areas on the dieline.
Can RGB artwork be used for a press file?
RGB artwork can shift when it is converted for press, so the file setup should be confirmed before proof approval. Keep the original source file, separate structural guides from print artwork, and follow the color instructions for the selected package. A digital proof gives the buyer a chance to catch placement and setup issues before production planning.
What products can use a custom packaging dieline?
Wine box packaging, private label packaging, and perforated packaging can all need custom dielines because their panels, openings, folds, and user actions differ. A product page can show a format direction, but the final dieline must match the selected dimensions and construction for the order.
What are CPL's order terms for a dieline project?
A CPL dieline project uses a 100-unit MOQ, with pricing from $0.49 per unit at volume, quoted to spec. Production is typically 8 to 10 business days after proof approval, plus delivery. Free US shipping and free design support are available, and the sample kit is $19.99.