




























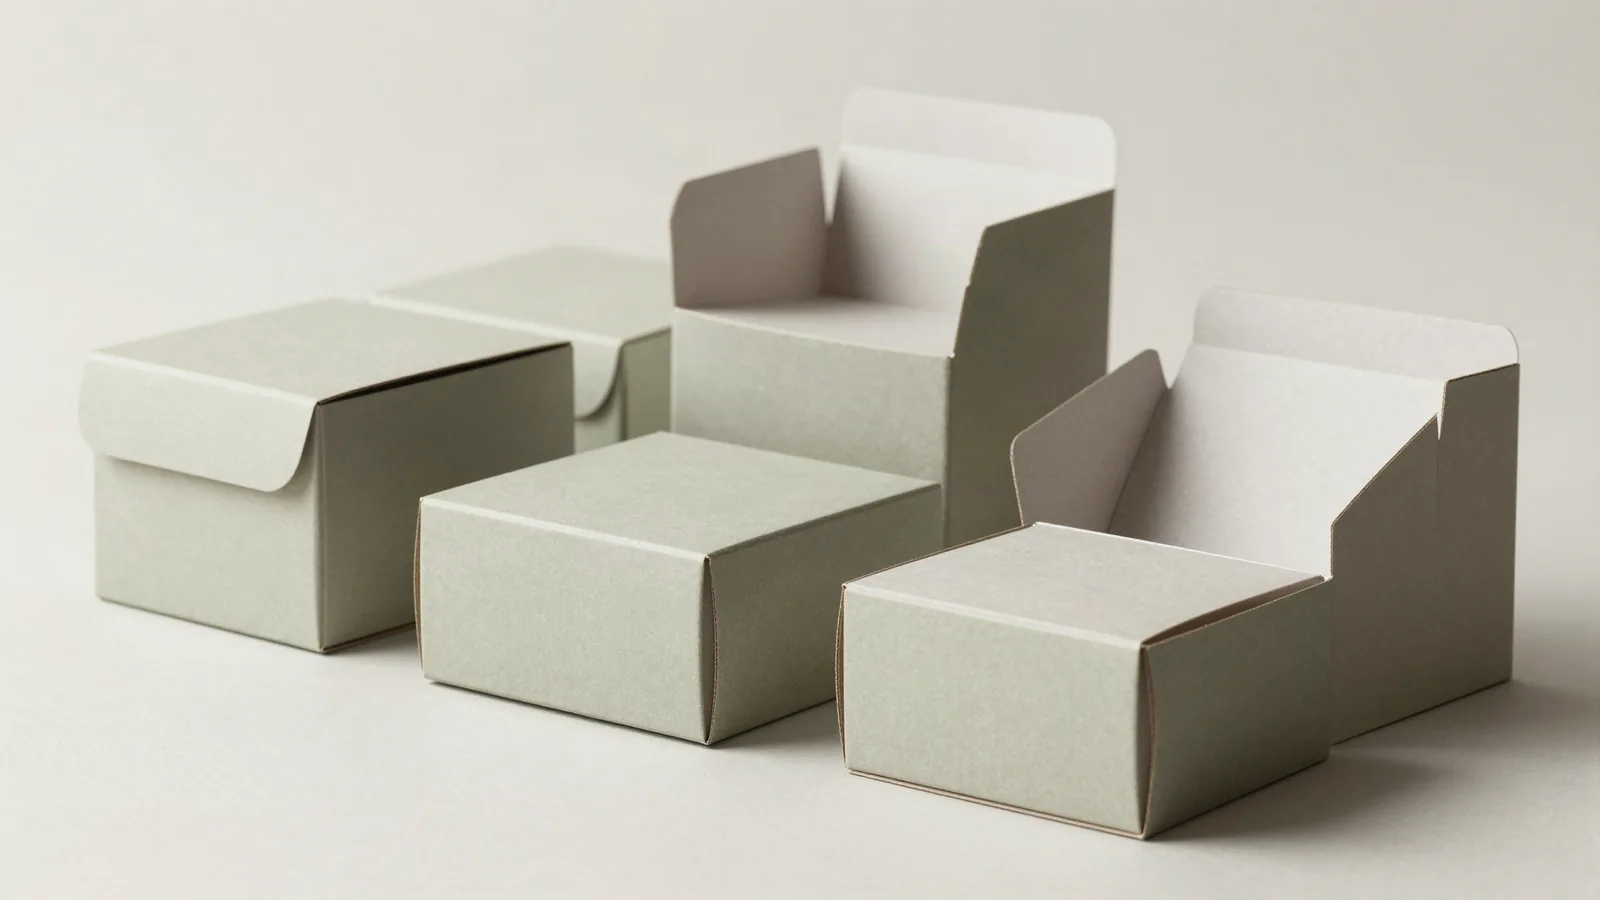




















































Precision parts packaging starts with controlled movement. A small machined, assembled, threaded, or delicate component can pick up a damaged finish when an insert touches the wrong edge or leaves enough room for the part to shift. A package can also hide the part from inspection when it moves inside. Measure the part in its packing orientation, identify contact-sensitive surfaces, and describe the route from packing bench to customer. For a broader format comparison, see custom packaging solutions.
What should I measure before packaging a precision part?
The product's shipping orientation determines which dimensions and contact points need to be recorded. Measure length, width, and depth with the part in the orientation used for packing, then mark protrusions, threads, edges, finished surfaces, mating features, and accessories. Inside dimensions are the useful starting point for the proposed package. About 1/16 in, or 1.5 mm, is a common box tolerance reference, but the insert determines where clearance is safe. Add a photo or sketch that shows the presentation side and surfaces that must not rub.
Which failure mode should the package prevent?
Movement, surface contact, compression, identification, and shipping footprint are separate checks. The structure, cavity, closure, and proof review should each point at the failure mode the package must stop.
| Risk to review | Package decision | Proof check |
|---|---|---|
| Part movement | Shaped cavity, partition, or insert-supported layout | Turn the packed package through normal handling positions |
| Surface contact | Clearance at edges, threads, finishes, and mating features | Inspect contact points after the part is seated |
| Compression or bending | Board caliper, outer structure, and closure position | Check that the lid or mailer does not load the part |
| Identification errors | Readable panels for labels, diagrams, or part references | Review the closed package and the flat artwork |
| Shipping footprint | Outside dimensions after fit is settled | Use L x W x H / 139 for US ground dimensional-weight planning |
These checks are general packaging practice. Adapt them to the part and the handling path.
Which materials balance protection and presentation?
Folding cartons commonly use SBS, C1S, or C2S paperboard in a typical 12 to 24 pt range. SBS means solid bleached sulfate; C1S and C2S identify one-side and two-side coated board. Board caliper is the measured thickness. Kraft board in a typical 18 to 24 pt range changes the surface and stiffness direction. Rigid presentation formats commonly use chipboard in a typical 1.5 to 3 mm range, wrapped in 100 to 157 gsm art paper. GSM means grams per square meter. Corrugated flute is the wave-shaped paper layer. E, B, and C flutes differ in thickness and stacking behavior, with 32 ECT, an edge crush test rating, as a common shipping-board reference. Board choice follows the part, insert, closure, and handling route.
Which structure keeps the part in a repeatable position?
A shaped cavity, partition, or insert-supported layout controls placement better than an empty box. Auto-lock bottom and crash-lock structures create repeatable carton bases during setup. Straight tuck end and reverse tuck end cartons change the opening and closure direction. A roll end tuck top mailer can combine an outer shipper with branded panels. For presentation, compare a two-piece rigid box, magnetic flap, drawer or slide, or sleeve with the insert, cavity, closure, and removal grip shown together.
How should the part and artwork be checked together?
The dieline is the flat cutting template that shows the package before it is folded. It should show cavity position, insert boundaries, folds, seams, label panels, and finish areas. Offset CMYK, the four-color process, is common for detailed paperboard graphics, digital printing can suit short runs or changing artwork, and flexo is common for corrugated work. We send a digital proof before anything prints. Matte or gloss lamination, soft-touch, spot UV, foil stamping, embossing, and debossing affect selected surfaces. Keep the part reference readable, keep the opening clear, and keep treatments away from folds, seams, glue zones, and contact points.
Which catalog references can clarify the part brief?
Custom drone packaging boxes can prompt questions about components, orientation, and protective layout. Custom scissor packaging is a useful reference for a long or edged item that needs controlled placement. Custom screw packaging can frame organized small-part presentation, while custom greeting card packaging offers a flat-format comparison. Use the real part, not the catalog example, for the fit decision.
What belongs in a precision-parts quote request?
The quote request should read like a fit brief, with part dimensions, packing orientation, contact concerns, insert or partition needs, desired opening, artwork status, finish direction, quantity, and destination. State whether the package will be packed by hand, placed into an outer shipper, or handled as a presentation box. CPL quotes to spec from a 100-unit minimum, with pricing that may be from $0.49 per unit at volume. Production is typically 8 to 10 business days after proof approval, plus delivery. Free US shipping and free design support are available, with a free dieline. The $19.99 sample kit is credited toward the first order.
Frequently Asked Questions
How should a precision part be measured for packaging?
Measure the precision part in its packing orientation and record length, width, and depth. Mark protrusions, threads, edges, finished surfaces, mating features, and accessories that share the cavity. Inside measurements are the starting point for fit. The insert or partition must then be checked against the actual part so clearance and removal are both practical.
What packaging feature reduces movement inside a parts box?
A shaped cavity, partition, or insert-supported layout can limit movement inside a precision-parts package. The geometry and contact-sensitive surfaces determine which feature fits. Test the loaded package through normal handling positions, inspect contact points, and check removal access. Controlled placement matters more than filling empty space around the part.
Should a precision-parts package prioritize protection or presentation?
Protection sets the first structural decisions when movement, contact, compression, or bending can damage the part. Presentation can then guide the outer format, panel layout, and finish. Corrugated shippers, folding cartons, rigid boxes, sleeves, and inserts each solve a different part of the job. The proof should show protection and opening together.
What material choices are common for precision-parts packaging?
Common starting points include SBS, C1S, or C2S paperboard for printed cartons, kraft board for a different surface direction, rigid chipboard for firm presentation, and E, B, or C flutes for shipping formats. Board choice follows the part, insert, closure, and handling route. Typical industry ranges are discussion points, not a substitute for a fit proof.
How can the quote brief prevent a poor first dieline?
Include part dimensions, packing orientation, contact concerns, insert or partition needs, desired opening, artwork status, finish direction, quantity, and destination. Add a photo or sketch that marks the presentation side and vulnerable areas. Those inputs help place cavities, panels, folds, and closures against the real part before the first proof is reviewed.












