




























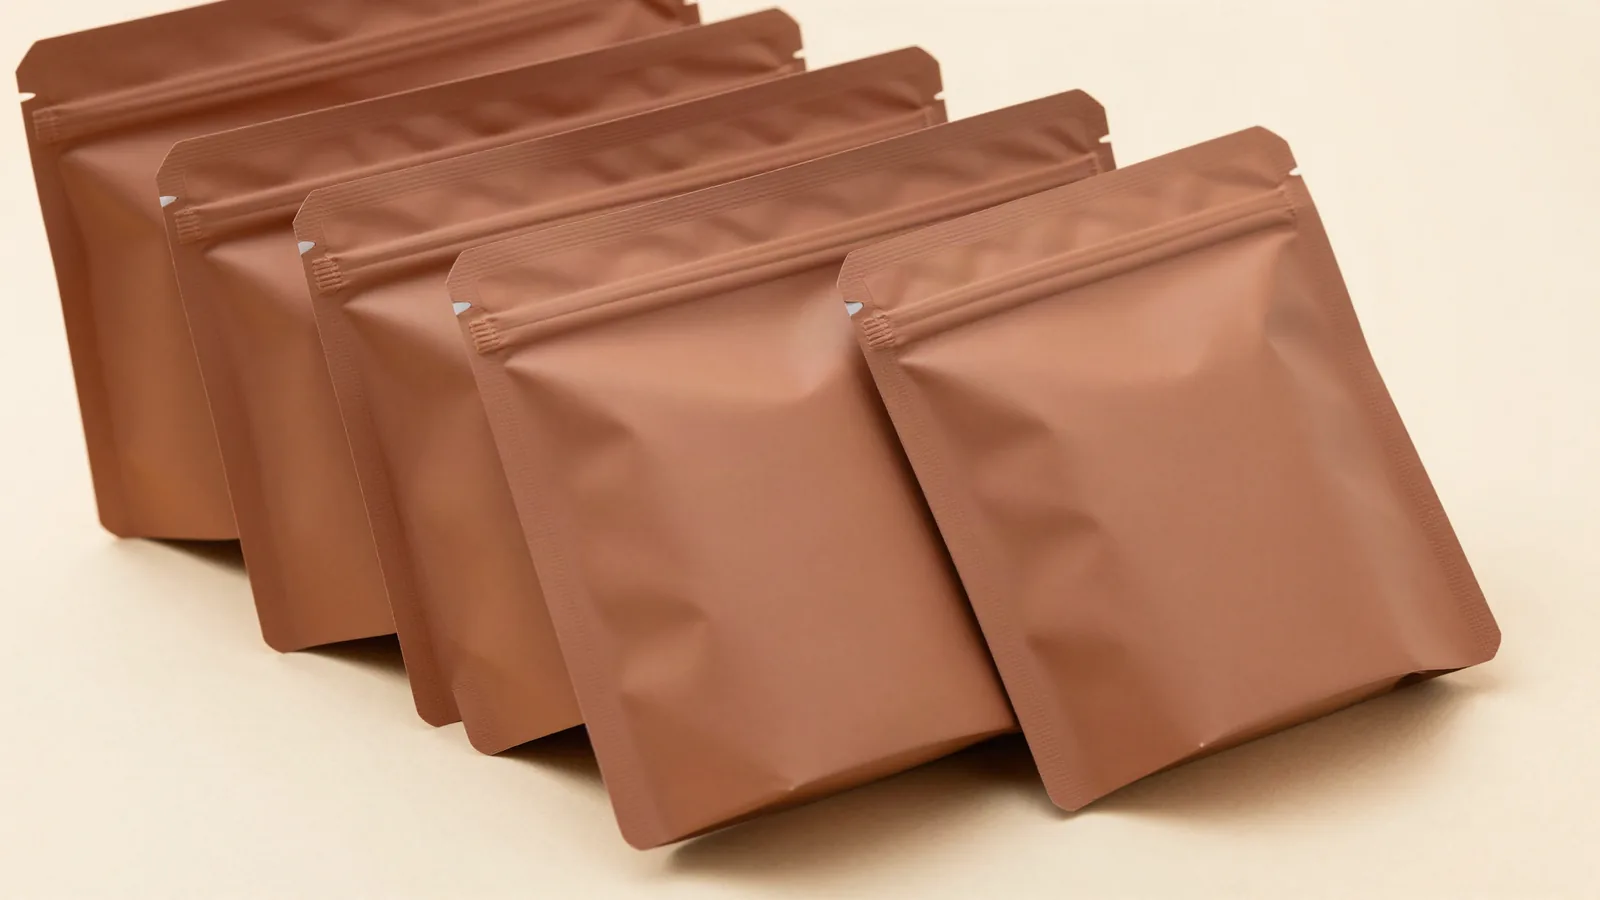




















































Product pouches can carry powders, small goods, samples, accessories, or other packaged items, but the useful format depends on the opening, fill path, layer construction, and display position. Start with zipper pouches when resealing matters, then compare the standing base, top seal, and artwork area against the contents. A pouch brief should name the package role before it names a finish.
What kind of product pouch fits the contents?
The fill method decides the first choice. A pouch is a flexible package, and its opening, seal path, layer construction, and display position need to match the contents before artwork or finish is assigned.
A flat pouch suits a sample or compact item when shelf standing is not required. A stand-up pouch needs a base or gusset that lets it sit upright. A zipper pouch adds repeated opening and closing, while a heat-sealed pouch closes across a defined seal area. Start with zipper pouches when resealing matters, then compare the filled height, front panel, top seal, and base against the contents.
Which pouch formats should I compare?
Four format choices cover the usual pouch decisions: closure, standing, surface, and viewing area.
| Pouch format | Common use | Specification to define |
|---|---|---|
| Zipper pouch | Repeated opening and closing | Closure position, seal area, fill height, and front panel |
| Stand-up pouch | Upright shelf or counter display | Base shape, width, fill line, and standing clearance |
| Kraft stand-up pouch | Paper-led surface direction | Material face, layer construction, artwork, and closure |
| Windowed pouch | Visible product area | Window location, film, patching, and copy-safe space |
Stand-up pouches are commonly compared in widths from 3 to 7.5 inches, a general industry reference rather than a fit decision. Confirm the product height, fill level, seal, gusset, and display position. Compare kraft stand-up pouches for a paper-led surface and herbal tea pouches for a contents-led front panel.
What layer construction should a product pouch use?
PET is often the outer film, AL is an aluminum layer, and PE is often the inner seal layer in Mylar or foil laminate constructions. The final sequence can change with the pouch, so list the face layer, inner seal layer, closure, and intended contents separately. These layers change the surface, seal path, stiffness, and barrier discussion.
A paper-look exterior can still be a layered flexible construction. For contents that touch the package, ask us about food-contact options for your product. See custom packaging solutions when the pouch needs to sit within a broader package system.
Should I choose a zipper or heat seal?
A zipper is the right starting point when the customer needs repeated opening; a heat seal is the right starting point when the filled pouch should close across a permanent seal area. Mark whether the pouch is opened by hand, cut, torn, or unzipped, then show the fill line below the closure.
The seal area must remain clear of product, heavy artwork, and any window patch. If a packing line or packing team loads the pouch, include the loading direction and the point at which the pouch is held. A closure that looks fine on a flat dieline can crowd the fill path once the pouch is filled.
How should I prepare product pouch artwork?
Digital printing suits a short run or artwork test. Flexographic printing is commonly considered for flexible film and paper bag surfaces when the quantity and artwork support that route. Mark the front, back, gusset, bottom, zipper, seal, trim, fill line, and repeat area on the dieline.
Matte or gloss lamination changes sheen. Soft-touch changes hand feel. Spot UV adds a hard glossy area, and foil adds reflective detail. These finishes need a surface check before they are assigned to a flexible layer. Keep type away from the zipper, seal, bottom fold, and trim, then review the filled pouch, not only the flat art.
Can a product pouch include a clear window?
Window patching creates a visible product area when the pouch leaves enough material around the opening for patching and sealing. PET film in the 0.2 to 0.3 mm range is a common reference for clear packaging windows. Show the window boundary, patch area, seal land, artwork exclusion zone, and product position together.
The window should not crowd the closure or remove the stable front panel needed for the main copy. Check the filled pouch upright and flat, because the visible area changes with the gusset and contents.
How should I measure and pack product pouches for delivery?
Give the filled pouch width, height, gusset or base depth, closure position, and the carton or mailer dimensions used for delivery. State length x width x depth for the outer package, and use inside measurements where product fit matters.
US ground carrier dimensional weight commonly uses L x W x H / 139. The shipping check belongs to the packed carton, not only the flat pouch. That distinction catches cartons that look small in a product brief but bill by the space they occupy after packing.
What belongs in a product pouch brief?
The brief needs five kinds of information: contents, structure, layers, artwork boundaries, and order details.
- Describe the contents, fill method, opening action, closure, seal zone, and standing or flat position.
- Choose zipper, stand-up, flat, windowed, heat-sealed, kraft, laminate, or another flexible structure.
- List PET, AL, PE, paper, film, window, print coverage, lamination, soft-touch, spot UV, or foil needs.
- Mark the front, back, gusset, bottom, zipper, trim, fill line, and clear copy-safe areas.
- Share artwork status, quantity, delivery destination, and any food-contact question.
Product pouches are quoted to spec from a 100-unit minimum, with pricing from $0.49 per unit at volume. Production is typically 8 to 10 business days after proof approval, plus delivery. Free US shipping, free design support, and a free dieline are available. The $19.99 sample kit is credited toward the first order. Send the filled product dimensions before approving the dieline.
Frequently Asked Questions
What is a stand-up pouch?
A stand-up pouch is a flexible package with a base or gusset that lets it sit upright. A useful specification includes filled width, height, base depth, fill line, closure, front panel, and display position. A common width reference is 3 to 7.5 inches, but the contents and packout decide the final format.
What layers are common in a flexible product pouch?
Mylar or foil laminates commonly use PET, AL, and PE layers. PET can form the outer film, AL can provide an aluminum layer, and PE can form the inner seal layer, depending on construction. State the face layer, seal layer, closure, artwork, and intended contents together. Ask us about food-contact options if the contents touch the package.
When does a resealable closure make sense?
A resealable closure makes sense when the customer needs repeated opening and closing after the first fill. A zipper needs a clear top area and seal zone, while a heat seal creates a permanent closure across a defined band. Show the fill line, product clearance, front artwork, and loading direction on the pouch dieline.
How are product pouches printed?
Digital printing suits a short run or artwork test, while flexographic printing is commonly considered for flexible film and paper bag surfaces when the quantity and artwork support that route. Mark the front, back, gusset, seal area, trim, and closure on the dieline. Finish choices need a surface check before approval.
What has to be reserved around a pouch window?
A pouch window needs clear space for the opening, patch area, seal land, artwork exclusion zone, and product position. PET film in the 0.2 to 0.3 mm range is a common window reference. Check the filled pouch upright and flat so the window does not crowd the closure or remove the main copy panel.












