









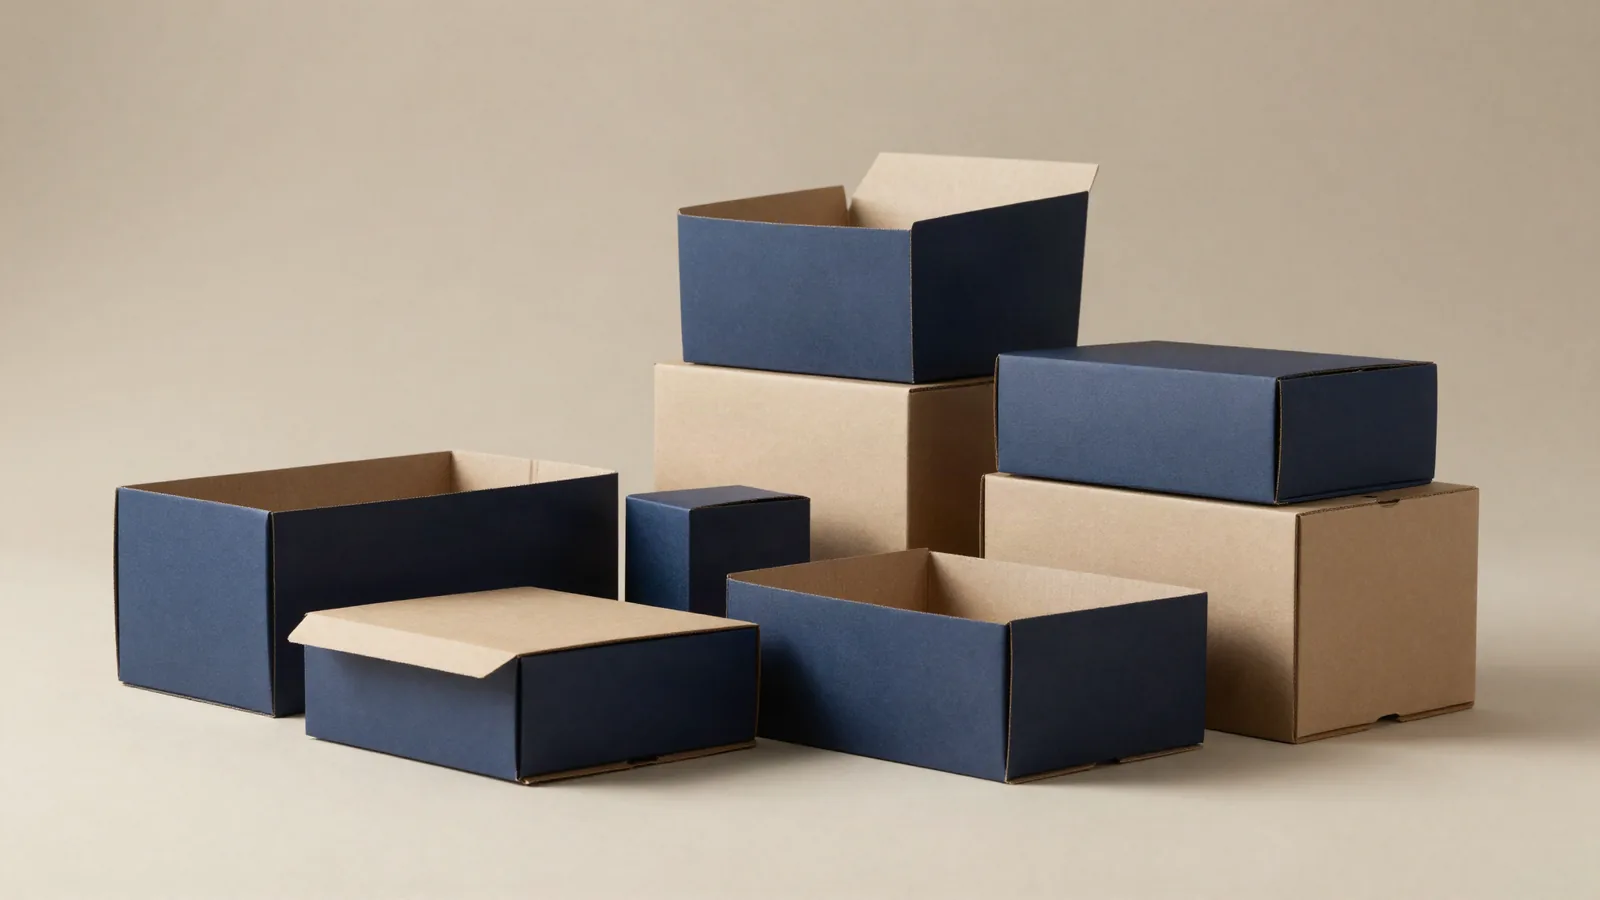



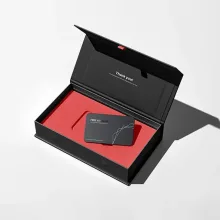




































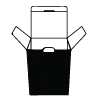

Test kit packaging is a component map inside a box. A compartmentalized tray is an inner tray divided into separate spaces for kit parts. An insert is a paperboard piece that separates, supports, or labels those parts. A fit record lists each component's packed dimensions and position. For diagnostic test kit packaging and a test kit box, send that record before the outer box is finalized.
The package brief should describe the physical kit, not make claims about the test. List the primary component, supporting pieces, instructions, labels, and any return or storage item supplied with the kit. Mark what the user sees first and what stays below the insert.
What does a diagnostic test kit box need to hold?
A diagnostic test kit box needs a known place for every supplied component and a clear first opening step. Record the length, width, height, and packed orientation of each part. Note anything that can bend, snag, or hide under a card. The box designer then has a physical map for the tray and insert, rather than a list of names with no fit information.
Do not use a product photo as the only size reference. A photo will not show packed thickness or orientation. Send a packed sample or measured fit record when the project is quoted.
How should compartments and inserts be sized?
Compartments should follow the way the kit is packed and opened. A tray is easier to check when each space has a named job.
| Component group | Tray role | Proof check |
|---|---|---|
| Primary component | Shaped space or support | Can it be lifted without moving other parts? |
| Supporting parts | Separate pockets or grouped area | Are small parts kept in the intended order? |
| Instructions and labels | Top-facing slot or printed area | Can the user find them before handling other parts? |
| Clearance around components | Space for packing and removal | Does each part enter and leave without force? |
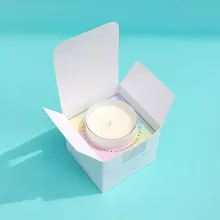
The table is a planning map, not a universal dimension chart. Exact tray dimensions follow the component record. A paperboard insert can divide the box, support an instruction card, or carry short labels. Show the insert in the assembled box. A flat drawing cannot show whether a part catches on an edge.
How should a test kit insert fit the packed components?
An insert should be sized from the packed components, with the outer box treated as the last boundary. Leave room for board thickness, the fold, and the user's fingers. A cavity that is too loose lets a part shift. A cavity that is too tight makes packing slow and removal rough.
Ask for the tray, insert, lid, and closure in the same orientation. Check where the printed side faces, whether a card covers a component, and whether the insert can be placed without bending. If the kit has several versions, keep the tray map separate from the artwork version list.
How do you test the opening sequence?
The opening sequence is tested by packing and unpacking a physical set in the order the user sees it. Place the first-use component where it can be reached, then check each removal step without turning the box upside down. Put the instruction card where it is found early, unless the kit brief calls for another order.
Write the sequence beside the component list: pack first, pack second, close, open, remove, and replace. This record catches an insert that looks neat in a drawing but blocks the part it is meant to organize.
What should a test kit proof show before approval?
The proof should show the box flat and assembled, with the tray or insert in place. Check the outer panels, panel order, opening direction, component clearances, and removal path. RGB is a screen color format, and print conversion can shift color. Bleed is artwork that extends beyond the cut line. Keep type and barcodes clear of scores, glue tabs, and folds.
Read the instructions and labels as they will appear after packing. A digital proof comes before anything prints. If a component or sample may contact an inner packaging surface, ask CPL about the relevant packaging options. Do not infer a material claim from the box name.
Which CPL product pages relate to test kit boxes?
Use HIV test kit packaging and testosterone test kit boxes as product-specific references. Pregnancy test kit boxes can frame an organized carton discussion, while the custom DNA test kit box page is another reference for a multi-part layout. The custom packaging design page can help organize the tray, insert, and exterior artwork brief.
What should be included in a test kit packaging brief?
A complete brief should contain the component list, fit record, packed sample or dimensions, opening sequence, preferred box style, artwork status, quantity, and delivery destination. Keep one approval owner for the exterior and the insert, so changes do not split across files.
- List each component group and its intended location.
- Mark the visible face of every instruction or identification panel.
- Show the tray, insert, lid, and closure in the same orientation.
- Note any component that needs a separate pocket or removal path.
What are the order terms for a custom test kit box?
The MOQ is 100 units. Pricing is from $0.49 per unit at volume, quoted to spec. Production is typically 8 to 10 business days after proof approval, plus delivery. Free US shipping and free design support are available.
The $19.99 sample kit is credited toward the first order. Use it to compare board, print, and insert directions before proof approval. Send the component list, fit record, opening sequence, artwork status, quantity, and delivery destination for a project-specific quote.
Frequently Asked Questions
Why put test kit components in separate compartments?
Separate compartments give each test kit component a planned location and reduce guesswork during packing and opening. A tray can hold the primary component, group supporting parts, and keep instructions visible. The spaces should be drawn from the packed component list and checked with the assembled kit, not chosen from an empty box shape.
Can a test kit insert carry printed instructions?
A test kit insert can carry short labels, support an instruction card, and show the intended opening order. The insert should be checked with the tray, lid, and components in place. Keep type away from scores and folds, and confirm that the insert does not cover a component or make removal difficult.
What should I send for diagnostic test kit packaging?
For diagnostic test kit packaging, send the component list, packed dimensions, fit record, opening sequence, preferred box style, artwork status, quantity, and delivery destination. Include a packed sample when possible. Mark which components need separate pockets and which panels must stay visible. Those details let the box and insert be quoted to the actual kit.
Which CPL product pages relate to test kit boxes?
CPL lists HIV test kit packaging, testosterone test kit boxes, pregnancy test kit boxes, and a custom DNA test kit box. These pages show catalog directions for multi-part packaging. The final test kit box still depends on the actual components, fit record, insert, artwork, and opening sequence.
What quantity and timing apply to a custom test kit box?
A custom test kit box has a 100-unit MOQ. Pricing is from $0.49 per unit at volume, quoted to spec. Production is typically 8 to 10 business days after proof approval, plus delivery. Free US shipping and free design support are available. The $19.99 sample kit is credited toward the first order.