








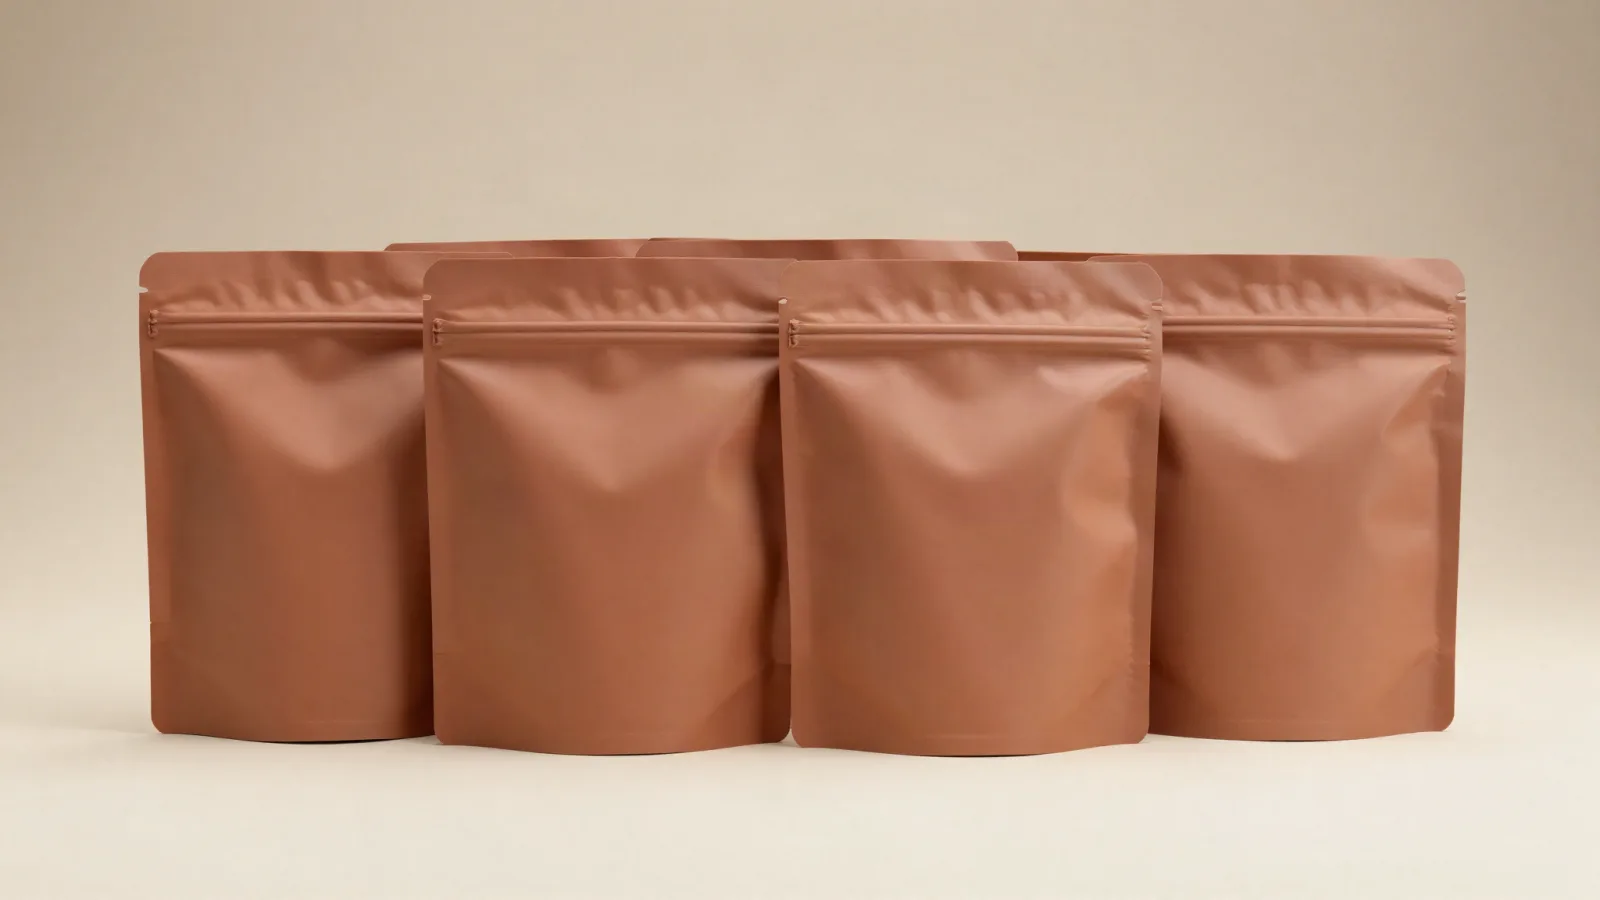









































To seal a Mylar bag properly, keep the product below a clean seal zone and use a closure that matches the bag construction and packing line. A Mylar bag here is a flexible barrier bag with a heat-seal layer or a construction intended for vacuum work. The seal works when the inner layers, equipment path, and operator routine agree.
What is the right way to seal a Mylar bag?
The right method is to fill below the top edge, clear crumbs or powder from the seal area, flatten the mouth, and close it with the equipment specified for that bag. A heat seal joins compatible inner layers with heat, pressure, and dwell time. The exact setting belongs to the bag material and sealer, so test the actual construction before a full run.
Do not make the artwork or opening feature an afterthought. A zipper can support repeated access, while a final heat seal creates a separate closing step. Leave room for the seal, tear feature, and any machine contact. A crooked top edge can pull the print out of alignment even when the bag itself is correctly made.
Should you use heat sealing or vacuum sealing?
Use heat sealing when the packing line needs a direct closure on a heat-seal-ready bag. Use vacuum sealing when the line removes air before closing. Vacuum work adds an air-removal step, so the product shape, fill level, machine path, and intended opening all need a place in the order notes.
| Operating need | Closure direction | What to record | CPL catalog reference |
|---|---|---|---|
| Direct top closure | Heat seal | Clean seal zone and matched sealer | Custom Mylar heat seal bags |
| Air removal before closure | Vacuum seal | Product shape, fill level, and machine path | Custom Mylar vacuum seal bags |
| Drying and storage routine | Freeze-drying bag | Fill sequence, closure step, and opening plan | Mylar bags for freeze drying |
| Printed bag program | Printed Mylar bag | Seal zone, printed panels, and repeat artwork | Custom printed Mylar bags |
These are operating choices, not promises that one method fits every product. If the contents may contact the package, ask us about food-contact options for your product. The bag specification should name the closure direction before the proof receives approval.
How do you prepare the bag before the sealer closes it?
Prepare the bag by confirming its finished size, opening direction, fill level, and seal width on the work note. The operator should see the top edge, keep the product below the jaws, and remove trapped folds from the seal area. Dust, oil, and product fragments can interrupt contact between the sealing layers.
- Inspect the empty bag for cuts, folds, or a damaged opening.
- Fill below the seal zone and keep the product off the inner seal layer.
- Flatten the mouth so the sealing surfaces meet evenly.
- Close the bag with the equipment matched to the construction.
- Check the finished closure before the package moves to the next step.
For a vacuum routine, check that the bag can travel through the machine without catching on a corner or feature. For a bag with a zipper, keep the zipper above the fill line and leave the closing edge accessible. For a non-rectangular project, die-cut Mylar bags need a drawing that reflects the cut shape and operator path.
What should the artwork show around the seal?
The artwork should leave a clear, documented seal zone and show the front panel in the same orientation used on the packing line. The custom printed Mylar bag direction is useful when the package needs repeatable printed panels. A barcode, tear notch, zipper, or warning copy too close to the top edge can become hard to use after the bag is filled and sealed.
CPL's custom packaging design support is free for custom bag orders. Send the product dimensions, closure direction, equipment notes, and rough art. CPL can draw the dieline, which is the flat cutting template for the bag, and send a digital proof before anything prints.
How can a team keep the sealing routine repeatable?
Write one short operating note and keep it with the approved bag file. The note should name the bag construction, fill orientation, equipment path, seal zone, zipper or tear feature, and the handoff after closure. A photo or sketch of the top edge can settle a question faster than a paragraph.
- Name the bag construction used by the line.
- Record the closure equipment and operator sequence.
- Keep the artwork revision beside the bag specification.
- Identify any zipper, tear feature, vacuum step, or final seal.
- Flag material questions before the proof is approved.
When the product, bag shape, equipment, or artwork changes, reopen the note. A vacuum seal bag is not interchangeable with a heat-seal-ready bag just because both use the word Mylar. The closure direction should be checked in the proof, not assumed from an old order.
What quantity and timing apply to custom Mylar bags?
Custom Mylar bag projects use a 100-unit MOQ. Pricing is from $0.49 per unit at volume, quoted to spec. Production is typically 8 to 10 business days after proof approval, plus delivery. Free US shipping and free design support are available. The $19.99 sample kit gives the team a physical construction to handle before choosing a seal, zipper, or vacuum routine.
For a clear request, send the bag type, finished dimensions, material direction, closure, artwork status, and how the operator will fill and close the bag. That detail turns way to seal Mylar bags into a repeatable packaging instruction.
Frequently Asked Questions
Does a Mylar bag need a clean seal area?
Yes. A Mylar bag needs a clean, flat seal area so the inner sealing layers can meet without product caught in the closure. Keep powder, crumbs, oil, and folds below the seal zone, then flatten the mouth before the sealer closes it. The exact equipment setting belongs to the bag construction and should be checked before a full run.
What does a heat sealer do to a Mylar bag?
A heat sealer closes a heat-seal-ready Mylar bag by applying heat, pressure, and dwell time to compatible inner layers. The operator fills below the jaws, keeps the top edge straight, and uses the setting matched to the bag and machine. CPL can discuss the bag format through free design support before proof approval.
When does a vacuum workflow fit a Mylar bag?
A vacuum workflow removes air before the bag closes, so it needs a machine path, a product fill plan, and an opening plan. Choose a vacuum-oriented Mylar bag when that air-removal step belongs in the packing routine. CPL's custom vacuum seal bags are a catalog reference for that direction.
Can a bag have a zipper and a final heat seal?
A Mylar bag can use a zipper for repeated access and a final heat seal as a separate closing step when the requested construction supports both. The operator needs room above the fill line for the zipper and the final seal. Put the sequence in the order notes so artwork and the digital proof show the same opening plan.
What do custom Mylar bag orders require?
Custom Mylar bag orders use a 100-unit MOQ. Pricing is from $0.49 per unit at volume, quoted to spec. Production is typically 8 to 10 business days after proof approval, plus delivery. Free US shipping and free design support are available, and the sample kit is $19.99.