




























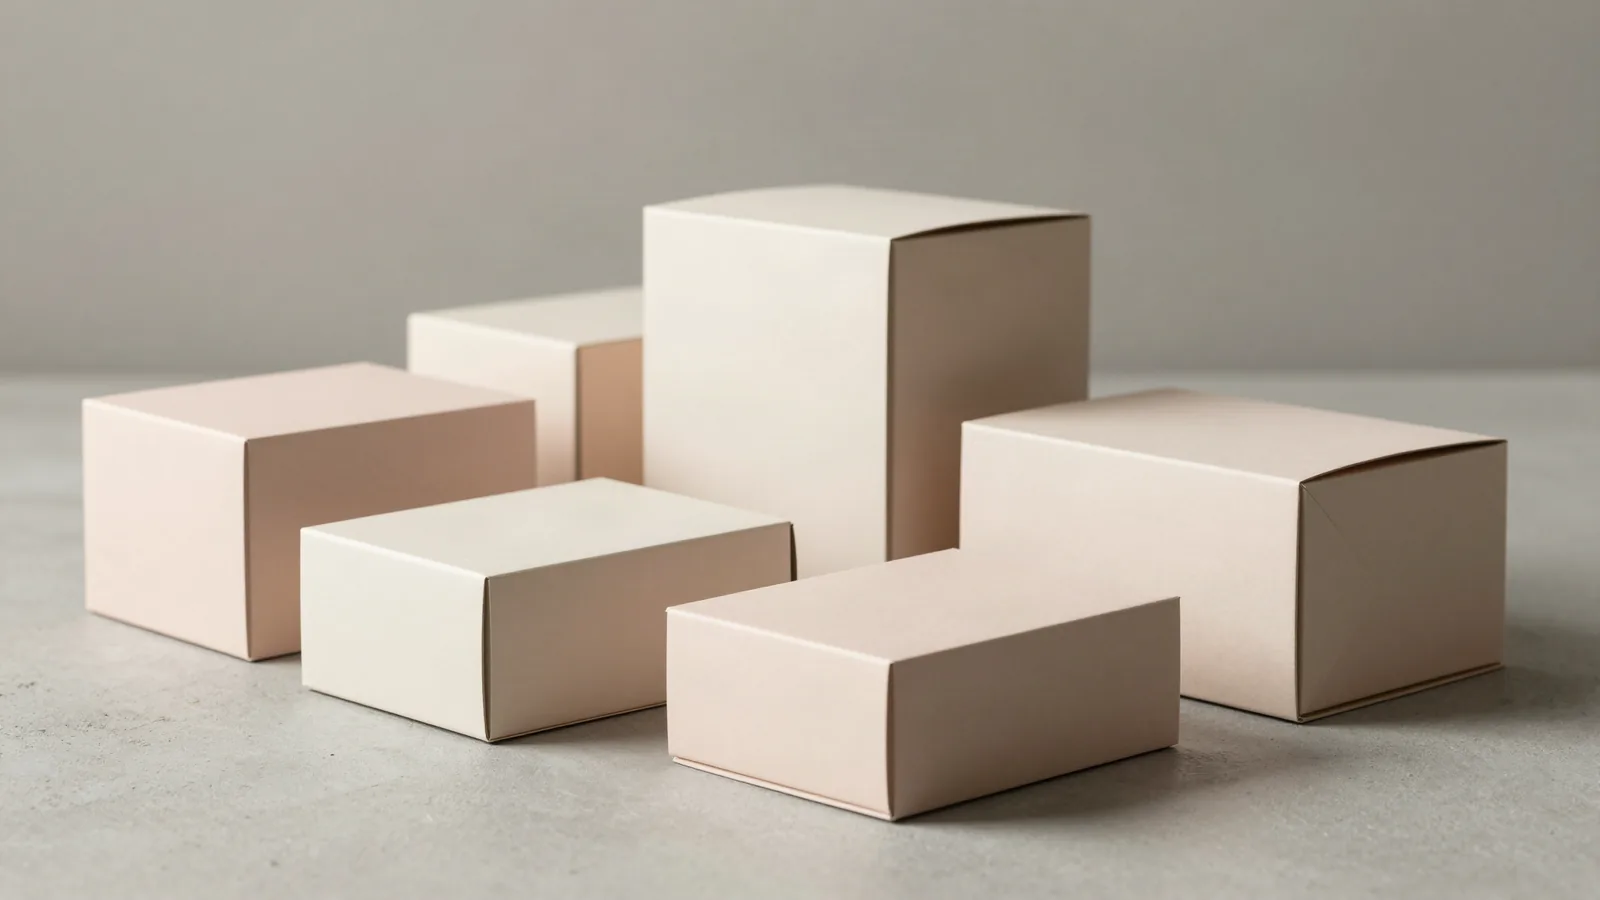




















































Custom packaging prototypes answer questions that a screen cannot. A prototype is a physical sample of the proposed structure, with the product, insert, artwork, or material decision placed where it will actually go. Pick up the package, open it, remove the product, and close it again. That short sequence exposes tight clearances, weak closures, awkward folds, and artwork that lands on the wrong panel.
What should a physical prototype settle first?
Fit, removal, opening motion, and product presentation are the first decisions to settle. Put the real product or a dependable dimensional reference inside the sample. Check the clearance at the closure, the space around an insert, the direction of the opening, and the panel the customer sees first. Custom taper candle packaging frames a narrow fit problem. Custom drone packaging boxes put more attention on inserts, support, and removal.
Which observations should go into the next dieline?
A prototype only earns its keep when each observation becomes a specific file change. A dieline is the flat cutting template used to show trim, scores, folds, glue tabs, and panel order. Record the physical result beside the next action.
| Checkpoint | What to inspect | Next file decision |
|---|---|---|
| Fit | Product placement, clearance, and removal | Adjust inside dimensions or support |
| Structure | Fold order, closure, base, and opening direction | Change construction or panel layout |
| Artwork | Logo position, information panels, seams, and safe areas | Move artwork or mark restricted zones |
| Surface | Paper feel, coating direction, and decorative treatment | Confirm material and finish choices |
| Shipping | Outer size, nesting, and packed arrangement | Define the shipper and delivery plan |
What material should the sample represent?
The board or film decision should match what can change fit, folds, or hand feel. Folding-carton samples commonly use SBS, C1S, or C2S paperboard in the 12 to 24 pt range. Kraft board commonly falls in the 18 to 24 pt range. A rigid sample can use chipboard in the 1.5 to 3 mm range with 100 to 157 gsm art paper wrapped around it.
If the package has a clear window, PET around 0.2 to 0.3 mm is a common general reference for the film. Mark whether the sample represents the intended window material or only the opening. That distinction matters when the patch, board edge, fold, or glue area changes the finished construction.
Which package structures deserve a hands-on test?
Opening motion separates package structures faster than a flat outline. Straight tuck end and reverse tuck end cartons place the opening on different panels. Auto-lock bottom and crash-lock structures change the base setup. A sleeve, drawer or slide, two-piece rigid package, or magnetic flap creates a different sequence in the hand. A roll end tuck top mailer, commonly associated with FEFCO 0427, adds a shipping-style opening and closing test.
Write the structure name on the sample note. If two constructions look similar from above, open both with the product inside and compare the closure, removal path, and visible panel.
How much print and finish should the prototype show?
Show enough surface treatment to test reading order, contrast, and hand feel. Digital printing can test a short-run artwork direction, while offset CMYK is commonly used for detailed folding-carton graphics. Matte or gloss lamination changes surface appearance. Soft-touch changes tactile response. Spot UV, foil stamping, embossing, and debossing should be marked as treatment zones when they are not built into the sample.
How should prototype dimensions be recorded?
Use inside measurements for fit, then record the outside package separately. Write length x width x depth and label each measurement. A common packaging convention is about 1/16 in, or 1.5 mm, tolerance, but the place where clearance matters depends on the closure, insert, window, and sliding parts. If the package will ship through a US ground carrier, dimensional weight is commonly discussed as L x W x H / 139 using the outer packed configuration.
Which catalog formats make useful test cases?
A catalog format is useful when it exposes the decision your own package must settle. Custom greeting card packaging puts flat-item fit, sleeves, and presentation on the table. Custom tin packaging adds a metal surface and a different opening behavior. Use the formats as construction references, then base the physical sample on the product, artwork, structure, and finish in the actual brief.
What should happen after the sample is handled?
Mark every pass, failure, and change while the sample is still in hand.
- Record fit, clearance, product orientation, insert position, and removal.
- Mark opening direction, closure behavior, folds, seams, and glue zones.
- Check artwork placement, information panels, and visible product areas.
- Record the material, caliper, print method, and finish being tested.
- Capture packed shipping dimensions and each change needed for the next proof.
When is a prototype brief ready for a quote?
A quote is ready when the product, inside dimensions, structure, material, artwork, finish, and packed arrangement are written down. Custom Packaging Lane quotes custom packaging prototypes to a 100-unit minimum. Pricing is from $0.49 per unit at volume, quoted to spec. Production is typically 8 to 10 business days after proof approval, plus delivery. Free US shipping and free design support are available, with a free dieline for the next proof. The $19.99 sample kit is credited to the first order. When the checkpoints are marked, request custom packaging design.
Frequently Asked Questions
How does a physical prototype differ from a digital proof?
A physical prototype tests product fit, folds, closures, inserts, removal, and opening motion. A digital proof tests the graphic layout, text, color direction, panel order, and marked finish areas. The two checks answer different questions, so a flat file cannot replace handling the assembled package.
Can an insert be tested before the final artwork?
Yes. An insert can be tested with placeholder artwork when the immediate question is product position, clearance, support, or removal. Record the insert's location and the surfaces that must stay visible. Test the insert inside the closed package because a separate drawing does not show its effect on opening motion.
How should prototype changes be marked?
Mark each observation beside the exact change it requires. Use notes such as move the score, widen the clearance, shift the logo, change the closure, or adjust the insert. Separate approved decisions from open questions, then carry that record into the next dieline and proof.
Why record the outside package size?
Outside package size affects nesting, packed arrangement, shipper selection, and dimensional weight. Record it separately from the inside length, width, and depth used for product fit. A sample that fits the product can still need a different outer arrangement when board thickness, folds, or inserts are added.
Should every decorative finish appear on the first sample?
No. A first sample can test structure and fit while spot UV, foil stamping, embossing, debossing, matte lamination, gloss lamination, or soft-touch remain marked on the proof. State which finish is being tested physically and which treatment is represented by a note or finish map.












