




























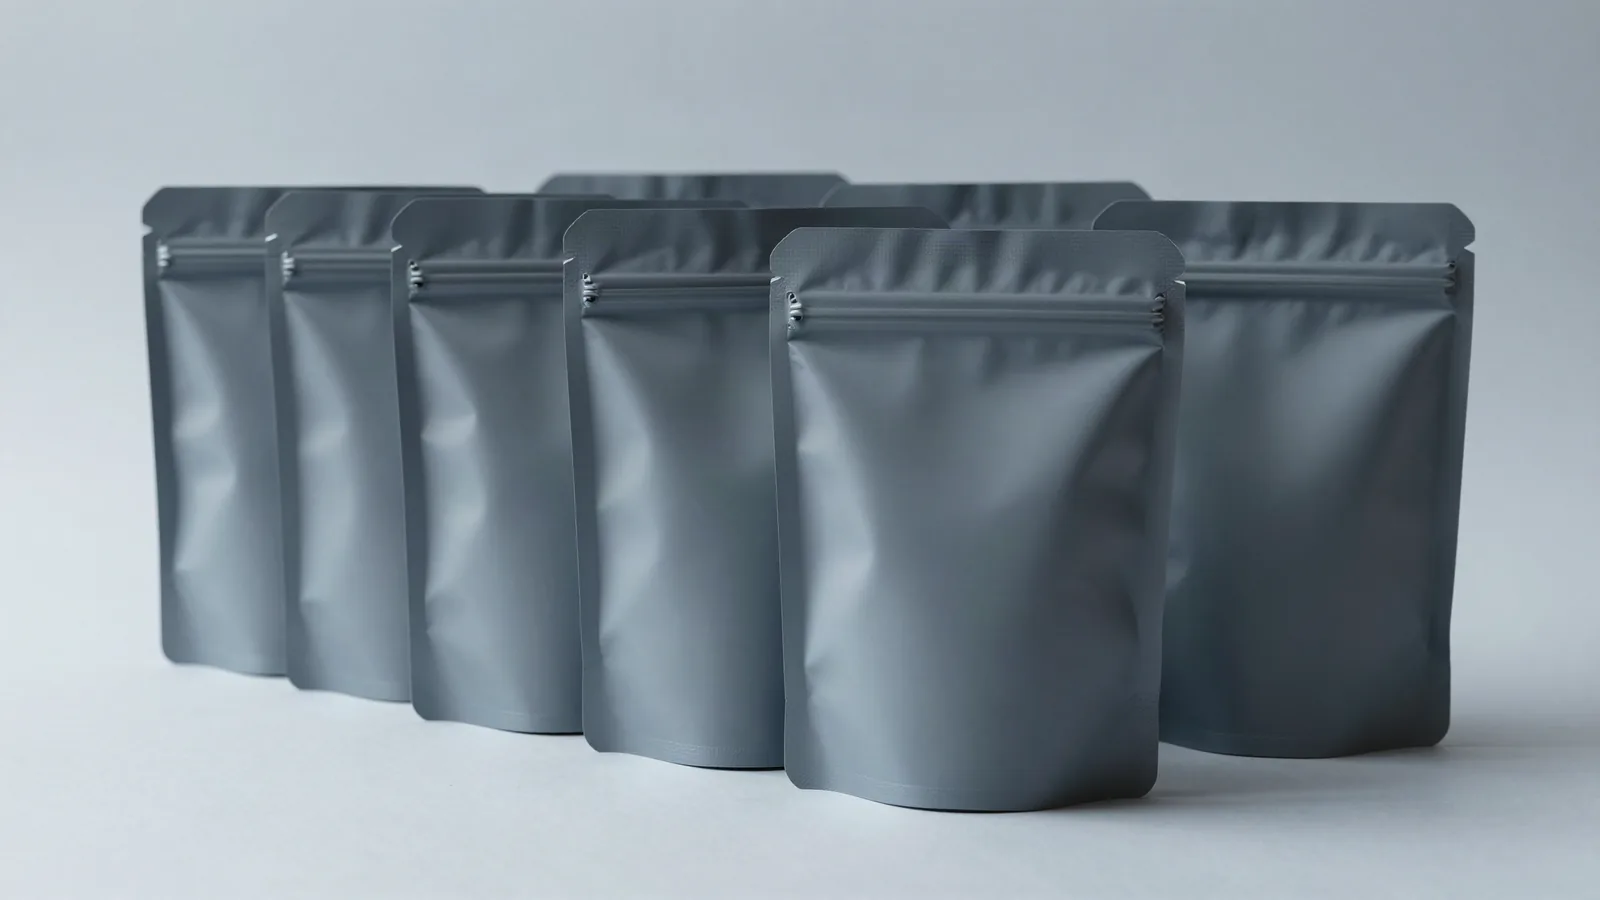




















































Custom pouch printing puts artwork on the film or paper-facing layer before the pouch is formed. The usable print area is controlled by the front and back panels, side seals, gusset, zipper, top seal, and any clear or metalized section. Artwork that looks correct on a flat screen can move close to a score or seal after forming.
Start with the film structure and the physical job. State how the pouch will be filled, sealed, displayed, opened, and handled. If the package may touch food, ask us about food-contact options for your product before the material and finish are finalized.
How does custom pouch printing start?
The pouch format decides where usable artwork can live. Put the product, fill method, orientation, opening style, target dimensions, material direction, artwork status, print coverage, and finish in the first brief.
Say whether the pouch should lie flat or stand upright. Mark the zipper, top seal, bottom gusset, spout, tear feature, and any clear or metalized area. The kraft paper zipper pouch page can frame a paper-facing surface with a reclosure feature, but the final dieline should follow the actual product.
Which film layers should I compare?
PET, AL, and PE do different jobs inside a laminate. PET can provide a printable surface and stiffness, AL can add opacity and block light, and PE is commonly used as the heat-seal layer.
Mylar or foil laminates may use PET, AL, and PE layers, but the layer order matters. The printable face and heat-seal face are not necessarily the same. A paper-facing pouch creates a different visual direction from a clear or metalized film. Treat the laminate description as part of the print specification before the artwork file is built.
| Pouch decision | Common packaging reference | Proof question |
|---|---|---|
| Film construction | PET, AL, and PE laminate layers | Which face receives print and which face seals? |
| Stand-up format | Common widths are 3 to 7.5 in | Where do the side edges and bottom gusset sit? |
| Reclosure | Zipper pouch structure | Will the zipper remain clear of important artwork? |
| Short-run artwork | Digital printing can suit short runs | Which colors and variable panels need review? |
| Surface treatment | Matte or gloss lamination | How should the surface read under shelf or room light? |
What pouch structure should I print?
A flat pouch lies down for storage, a zipper pouch adds repeat access, and a stand-up pouch uses a bottom construction that supports upright display.
A heat-seal zone must remain free of artwork that could interfere with the seal. A zipper needs clear space around the closure and a usable opening area. A stand-up pouch needs a bottom gusset that matches the filled format. If a spouted format is under consideration, identify the spout location, fill path, and seal relationship before the dieline is set.
How wide are stand-up pouches commonly?
Stand-up pouches are commonly discussed in a 3 to 7.5 in width range, but width alone does not describe the finished package. Height, gusset depth, seal area, zipper position, product fill, and headspace also affect the layout.
State whether the requested size is flat width, finished front width, or another reference. Keep important text away from side seals, top seals, notches, and areas that curve when the pouch is filled.
How should pouch artwork be prepared?
An approved dieline fixes the usable panel, score, bleed, seal zone, zipper, gusset, tear feature, and clear or metalized area. Build the artwork from that file and mark the printable face, panel orientation, and reading direction.
Low-resolution art shows as soft type. RGB art can shift when converted for press. Type set too close to a score may become hard to read, and missing bleed can leave a white edge after cutting. Digital printing can suit short-run artwork, but the file still needs defined color coverage, safe areas, and panel boundaries.
Use the digital proof to check small type, reversed type, large solid fields, barcodes, artwork near seals, and finish registration. Inspect the formed pouch, not only the flat artboard.
Which finishes change the pouch surface?
Matte lamination lowers sheen, while gloss lamination creates a brighter surface under light. Soft-touch changes the hand feel. A foil laminate can create opacity and a reflective surface, while a clear film can support product visibility where the construction allows it.
Do not treat a finish as a product-use statement. The finish, layer order, seal method, and intended use belong in one packaging specification. Mark foil, spot UV, embossing, and debossing on the finish map, then check where each treatment meets a fold, zipper, or seal.
Which product examples help specify the pouch?
Granola pouch is a useful reference for a stand-up or flexible food-related format, where food-contact questions should be raised directly. Face mask pouch can frame a flat presentation, opening, and surface-protection discussion. Compare the product shape, fill method, opening, and artwork area on each page, then request a construction based on the actual product rather than copying a generic size.
What should I send for a pouch printing quote?
The first message should include the product description, fill condition, pouch format, labeled dimensions, film or laminate direction, closure, seal areas, print coverage, finish, quantity, tooling needs, artwork status, and delivery destination.
Custom Packaging Lane quotes from a 100-unit minimum, with pricing from $0.49 per unit at volume, quoted to spec. Production is typically 8 to 10 business days after proof approval, plus delivery. Free design support, a free dieline, and free US shipping are available. The $19.99 sample kit is credited to the first order. Use wholesale custom packaging when the pouch brief is ready.
Frequently Asked Questions
What must stay out of the seal area?
Artwork that crosses a heat-seal zone can interfere with the usable seal or become difficult to read after forming. Keep important copy, barcodes, logos, and decorative detail away from the top seal, side seals, zipper, gusset, and tear feature. Mark the seal area on the dieline and check the formed pouch before approval.
Does a zipper change the printable panel?
A zipper changes the usable panel because the closure occupies space near the opening and needs clear alignment across the pouch. Keep important artwork below the zipper and away from the top seal. The dieline should show the zipper position, front and back panels, gusset, tear feature, and finished reading direction.
Can a foil laminate include a clear panel?
A foil laminate creates an opaque, reflective surface, so a clear panel usually requires a different film construction or a defined window component. Mark any viewing area on the dieline and confirm its relationship to the laminate, seals, zipper, and artwork. A clear film and a foil laminate produce different color and product-visibility results.
When can digital printing fit a pouch job?
Digital printing can suit short-run pouch artwork or a job that needs artwork comparison before a longer production decision. The file still needs the correct dieline, color coverage, panel boundaries, safe areas, and seal zones. Check small type, reversed copy, solid fields, and the formed pouch during the proof step.
What should a pouch proof show?
A pouch proof should show the front and back panels, reading direction, laminate face, clear or metalized areas, zipper, seals, gusset, tear feature, finish map, and artwork safe areas. Check the proof with the product fill in mind. The flat file should describe the formed pouch, not only the film sheet.












