




























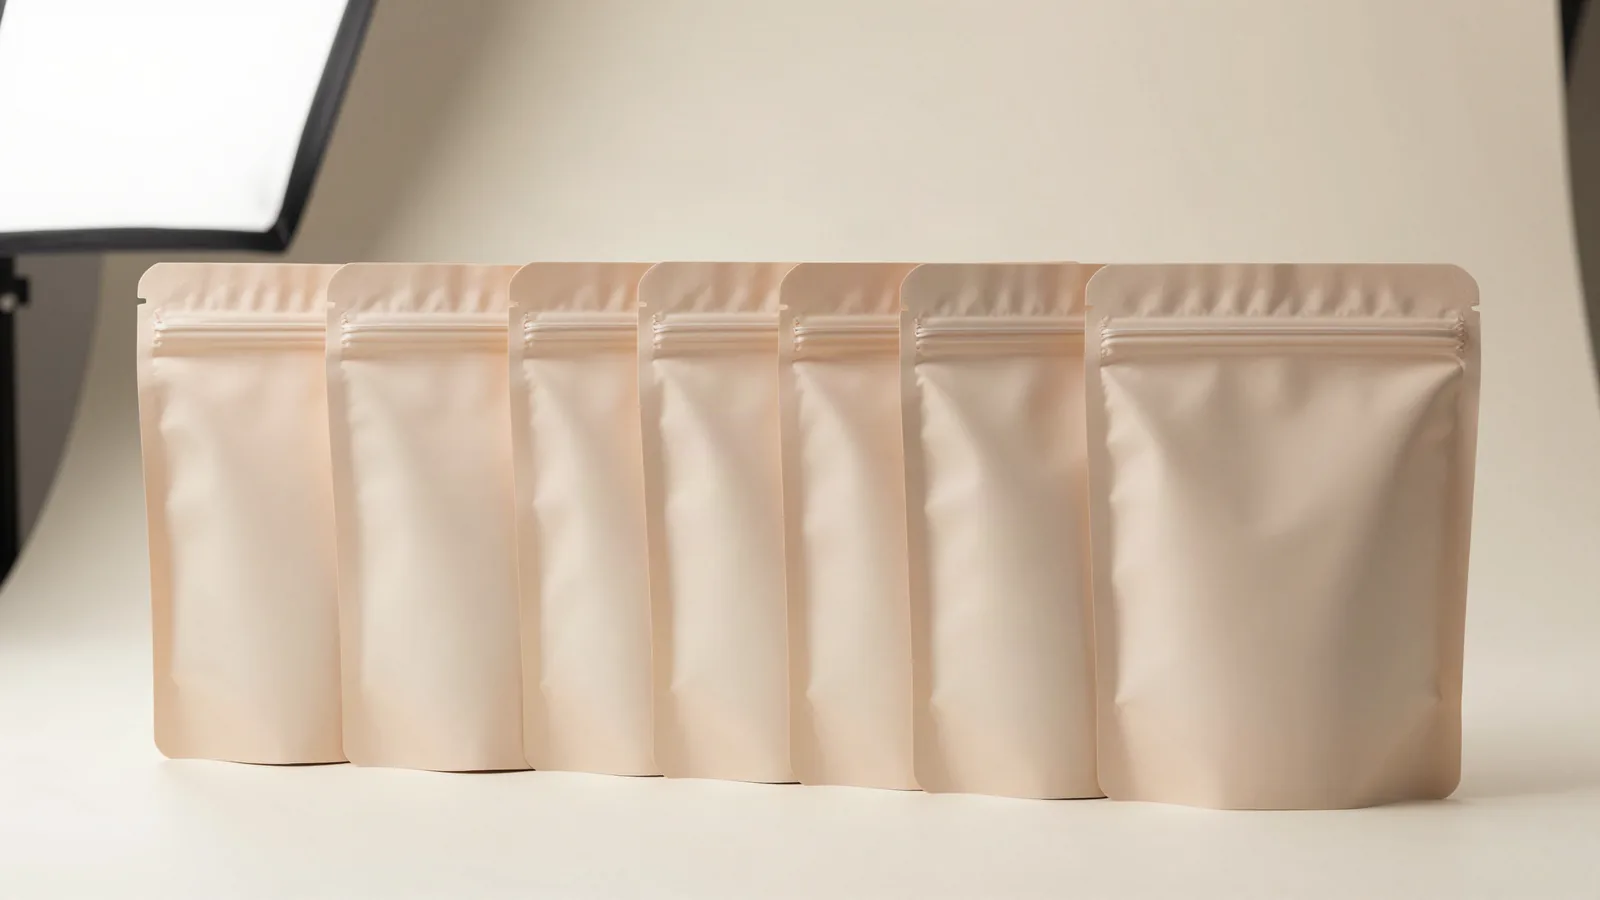




















































What does standup pouch printing include?
A printed standup pouch has a front panel, back panel, bottom gusset, seals, and a zipper or spout. The bottom gusset is the folded base that lets the pouch stand. Printing decisions start with the product form and fill level because artwork can land across a fold or closure once the pouch is filled.
Separate the printed face from the functional areas. Mark the zipper, seal zones, gusset folds, spout, and any window before placing type or a logo. The custom packaging design process can organize that brief before the proof, but the product dimensions still have to come from the buyer.
Which pouch material will show the artwork correctly?
Film choice changes opacity, surface feel, and how the printer builds the seal.
| Material or construction | What it changes | What the quote should identify |
|---|---|---|
| Kraft paper pouch | Paper-led outer surface and printed texture | Paper layer and inner seal film |
| PET / AL / PE laminate | Opaque foil layer and flexible barrier construction | PET outer, AL foil, and PE seal layer |
| Mylar or foil laminate | Polyester film or metallic appearance | Which layer prints and which faces the product |
| PET display window | Clear product view where the structure permits it | Window placement and the typical 0.2 to 0.3 mm film range |
A front-facing material name is not enough. The quote should identify the complete construction, product-facing surface, seal conditions, and window boundaries. Ask us about food-contact options when the pouch touches the product.
How do digital, flexo, and offset printing differ?
Digital printing suits short runs, test versions, and artwork changes without a traditional plate workflow. Offset CMYK is a normal reference for detailed paperboard graphics, while flexo is common for corrugated packaging. Flexible pouch work needs its own review for dense color fields, white ink, metallic effects, repeated panels, and registration around seams and closures.
Matte or gloss lamination changes surface sheen. Soft-touch changes the hand feel. Spot UV, foil stamping, embossing, and debossing can be reviewed for a carton or sleeve paired with the pouch, but those areas need to appear on the artwork file. Show the pouch flat, with front, back, gusset, seal, and closure zones marked.
Which closure and size should the artwork fit?
A pouch that is 3 to 7.5 inches wide still needs a fit review around depth, headspace, and the way the product settles. A zipper suits repeated opening, while a spout suits controlled pouring or dispensing. The closure changes the top seal, safe artwork area, fill opening, and reading direction on the front panel.
Provide the filled product shape and the intended fill level. Loose pieces, powder, liquid, and viscous products occupy a pouch differently, even when the outside width is the same. Keep logos and copy clear of the zipper, spout, heat seals, gusset folds, and any window edge.
What belongs on a pouch dieline?
A dieline is the flat cutting template used to lay out the pouch before printing and sealing. Mark the front panel, back panel, gusset, zipper, spout, seal areas, window, trim, and reading direction. Add color references, white-ink instructions, bleed, image resolution, reverse-side printing, metallic effects, and repeat length to the artwork package.
Low-resolution art becomes soft at final size. RGB artwork can shift during press conversion, and type set too close to a fold can split across the score. A digital proof should show the panel order and finish areas clearly, so the buyer can check legibility and registration before the run.
Which printed pouch products can I compare?
Use the catalog as a structure reference. The kraft standup pouch shows a paper-led exterior, while the kraft paper zipper pouch frames a reopenable top. A granola pouch gives another stand-up retail format, and a cosmetic spout pouch gives a dispensing reference. The product and filling method still determine the final artwork brief.
What should I include in a pouch printing quote request?
A useful request includes the product, filled dimensions, target width, closure, material direction, finish, artwork status, and delivery destination.
- Describe the fill as loose, granular, powdery, liquid, or viscous.
- Mark the zipper, spout, window, foil, and seal zones.
- State the print process under consideration and the color reference.
- Attach artwork with front, back, gusset, and reading direction shown.
- Include the destination and whether filling is by hand or equipment.
Custom Packaging Lane is a US-based packaging supplier. Quotes use a 100-unit minimum, with pricing from $0.49 per unit at volume, quoted to spec. Production is typically 8 to 10 business days after proof approval, plus delivery. Free US shipping, free design support, and a free dieline are available. The $19.99 sample kit is credited to the first order.
Frequently Asked Questions
What is standup pouch printing?
Standup pouch printing applies artwork to flexible packaging with a bottom gusset, the folded base that lets the pouch stand after filling. The job includes film construction, panel layout, closure placement, ink coverage, and finish selection. A printed design still has to clear the gusset, zipper, spout, seals, and fill area when the pouch takes its final shape.
Which materials fit a printed standup pouch?
Printed standup pouches commonly use kraft paper constructions or PET / AL / PE laminate layers. Mylar is a polyester film, while an aluminum layer creates an opaque metallic direction. A PET window can add visibility, with a typical film range of 0.2 to 0.3 mm. The quote should identify the full structure and product-facing layer.
Should I choose a zipper or spout?
Choose a zipper when the customer will reopen the package for repeated access. Choose a spout when the product is poured, squeezed, or dispensed through a controlled opening. Each closure changes the top seal, safe artwork area, fill opening, and filling method, so the product's use pattern should settle the choice before the pouch is drawn.
How should I provide pouch dimensions?
A pouch printing request should include the filled product shape, target width, approximate height, gusset preference, fill level, and headspace. Also state whether the fill is loose, granular, powdery, liquid, or viscous. A flat artwork file cannot confirm fit around the seals, zipper, spout, or the product after it settles.
What should I check in a pouch proof?
A pouch proof should show panel orientation, gusset folds, zipper or spout placement, seal clearances, white-ink areas, color references, and back-panel reading direction. Check that logos and copy do not cross a fold or sealing zone. Review low-resolution images and RGB conversions carefully because both can change the printed result.












