




























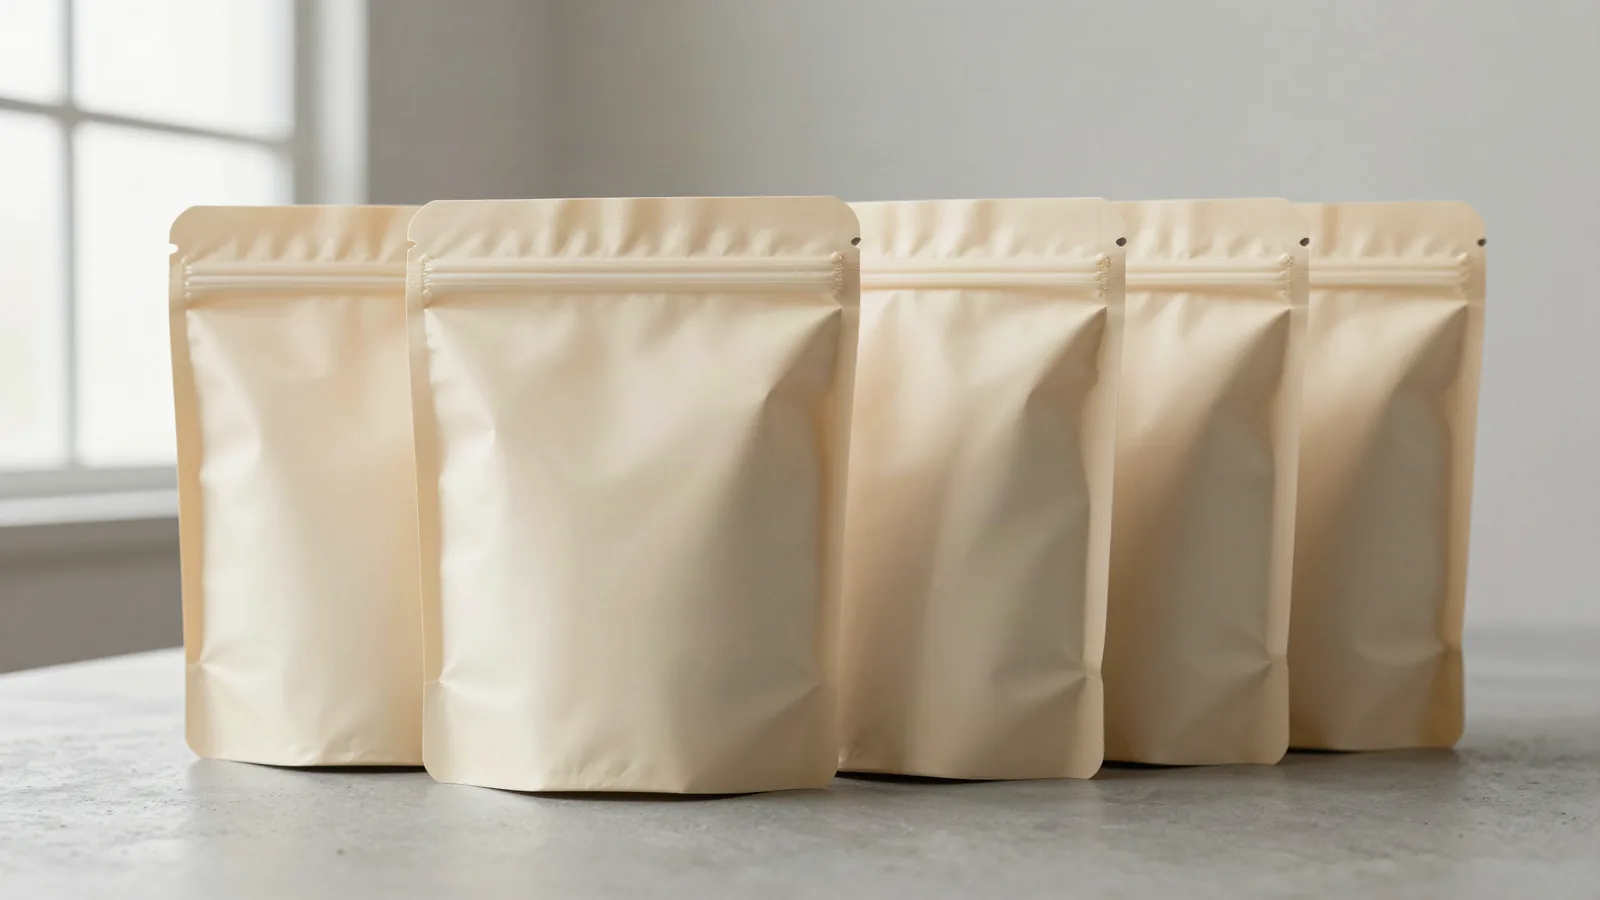




















































Custom printed mylar pouches are flexible packages with printed faces, seals, and a closure such as a zipper or heat seal. Mylar commonly refers to polyester film used within a laminate, not a complete pouch construction by itself. Compare custom printed mylar bags, custom stand-up pouches, custom smell-proof mylar bags, and custom mylar ziplock bags when comparing printed faces and access points. If the pouch sits inside an outer branded carton, see custom boxes with logo.
What should pouch artwork include?
The front, back, gusset, closure, and viewing areas each need a job before the file is laid out. Separate fixed brand elements from product-specific copy. A panel map should show where the logo, product name, instructions, ingredients, contact field, variable wording, clear film, metallic field, and label area belong.
| Artwork zone | What to define | Proof question |
|---|---|---|
| Front panel | Brand mark, product name, and visual hierarchy | Can the message be read on the filled pouch? |
| Back panel | Instructions, ingredients, contact field, or variable copy | Does the copy stay clear of seals and folds? |
| Closure area | Zipper, top seal, tear path, and safe artwork distance | Can the pouch open without damaging the printed message? |
| Gusset or side | Secondary branding and version notes | Does the art stay aligned when the pouch stands? |
| Viewing area | Clear film or intentional metallic field | Does the visible product area match the artwork plan? |
How should I separate print from seal zones?
A seal zone is working material at the edge of the pouch, not spare space for copy. Mark the top seal, bottom seal, side seals, zipper track, tear feature, and gusset fold before placing text or marks. Keep important artwork away from those areas. A stand-up pouch can shift across the front when filled, so review the art on the filled shape. A flat file can look correct while the finished pouch reads differently.
How can one artwork system handle multiple pouch versions?
Keep shared branding in a fixed panel and put product-specific copy in a variable panel. The fixed area can carry the logo, recurring color field, and shared visual language. The variable area can carry the product name, flavor or scent wording, size reference, or seasonal art. Name each version in the proof and group edits by panel so a change for one SKU does not move into the shared file.
How do PET, AL, and PE layers change printed pouch artwork?
Layer construction changes opacity, fold response, seal behavior, and the appearance of transparent or metallic artwork. PET is polyester film, AL is aluminum foil, and PE is polyethylene. PET is often used as a stable printable outer face. AL can add a barrier layer. PE is commonly used as a heat-sealable inner layer. Show the layer order, window, unprinted field, and metallic area separately. For a product that touches food, ask us about food-contact options for your product.
Which print and finish notes belong in a proof?
Digital printing can suit a short run or version test, while flexo is commonly considered for repeating flexible packaging. Offset CMYK is more commonly associated with detailed paperboard components or an outer carton. Matte or gloss lamination changes the surface direction. Spot UV and foil stamping can mark selected elements when the format supports them. Mark ink coverage, white ink areas, metallic fields, transparent areas, seams, seals, closure tracks, and finish notes. A press check should compare panel registration and the way artwork meets folds.
How should a printed pouch be checked after filling?
A filled sample exposes problems that a flat file hides. Fill the sample with the intended product or a representative load, then inspect the front panel, gusset, zipper, seals, and bottom standing position. Check whether copy disappears into a fold or whether the product pushes the main artwork out of alignment. If the pouch uses a clear window, PET film commonly falls in the 0.2 to 0.3 mm range. Review both the flat artwork and the filled package.
What should I confirm before releasing the artwork?
The final check should match the approved pouch structure, panel map, material direction, closure, seal zones, version name, print process, and finish notes. Send the product, opening, fill arrangement, laminate direction, print coverage, white or metallic areas, artwork status, quantity, and delivery destination. Confirm that variable copy belongs to the right version and that the logo remains in the fixed zone. For branded outer-package planning, use custom boxes with logo.
Custom Packaging Lane quotes printed pouches to spec from a 100-unit minimum. Pricing is from $0.49 per unit at volume, quoted to spec. Production is typically 8 to 10 business days after proof approval, plus delivery. Free US shipping and free design support are available, with a free dieline for the artwork handoff. The $19.99 sample kit is credited to the first order.
Frequently Asked Questions
What is the difference between a mylar pouch and a mylar bag?
A pouch usually describes a flexible package with a defined front and back, seals, gusset, zipper, or stand-up base. A bag can be a broader term for flexible film packaging. The actual construction still needs the laminate, closure, seal zones, panel map, and filled shape named in the artwork brief.
What belongs in a fixed artwork panel?
A fixed artwork panel carries elements that stay the same across pouch versions, such as the logo, recurring color field, and shared visual language. Product name, flavor or scent wording, size reference, and seasonal art belong in a variable area. Naming each version in the proof keeps shared artwork separate from SKU-specific edits.
Why does laminate order matter in a printed pouch?
Laminate order affects print appearance, opacity, fold response, barrier behavior, and heat sealing. PET is polyester film, AL is aluminum foil, and PE is polyethylene. PET can form a printable outer face, AL can add a barrier layer, and PE is commonly used as a heat-sealable inner layer. The complete stack should be named.
Which pouch areas should stay clear of artwork?
Keep important copy and marks away from top, bottom, and side seals, zipper tracks, tear features, gusset folds, seams, and closure paths. These areas move or join during converting. A panel map should also identify clear film, metallic fields, white ink, and label zones so the finished pouch can be checked after filling.
Why check artwork on a filled pouch?
A filled pouch can change the visible front panel, gusset alignment, standing position, and relationship between the product and printed copy. Fill a sample with the intended product or a representative load, then inspect the zipper, seals, folds, window, metallic field, and bottom position. Record layout changes before releasing the final artwork.












