




























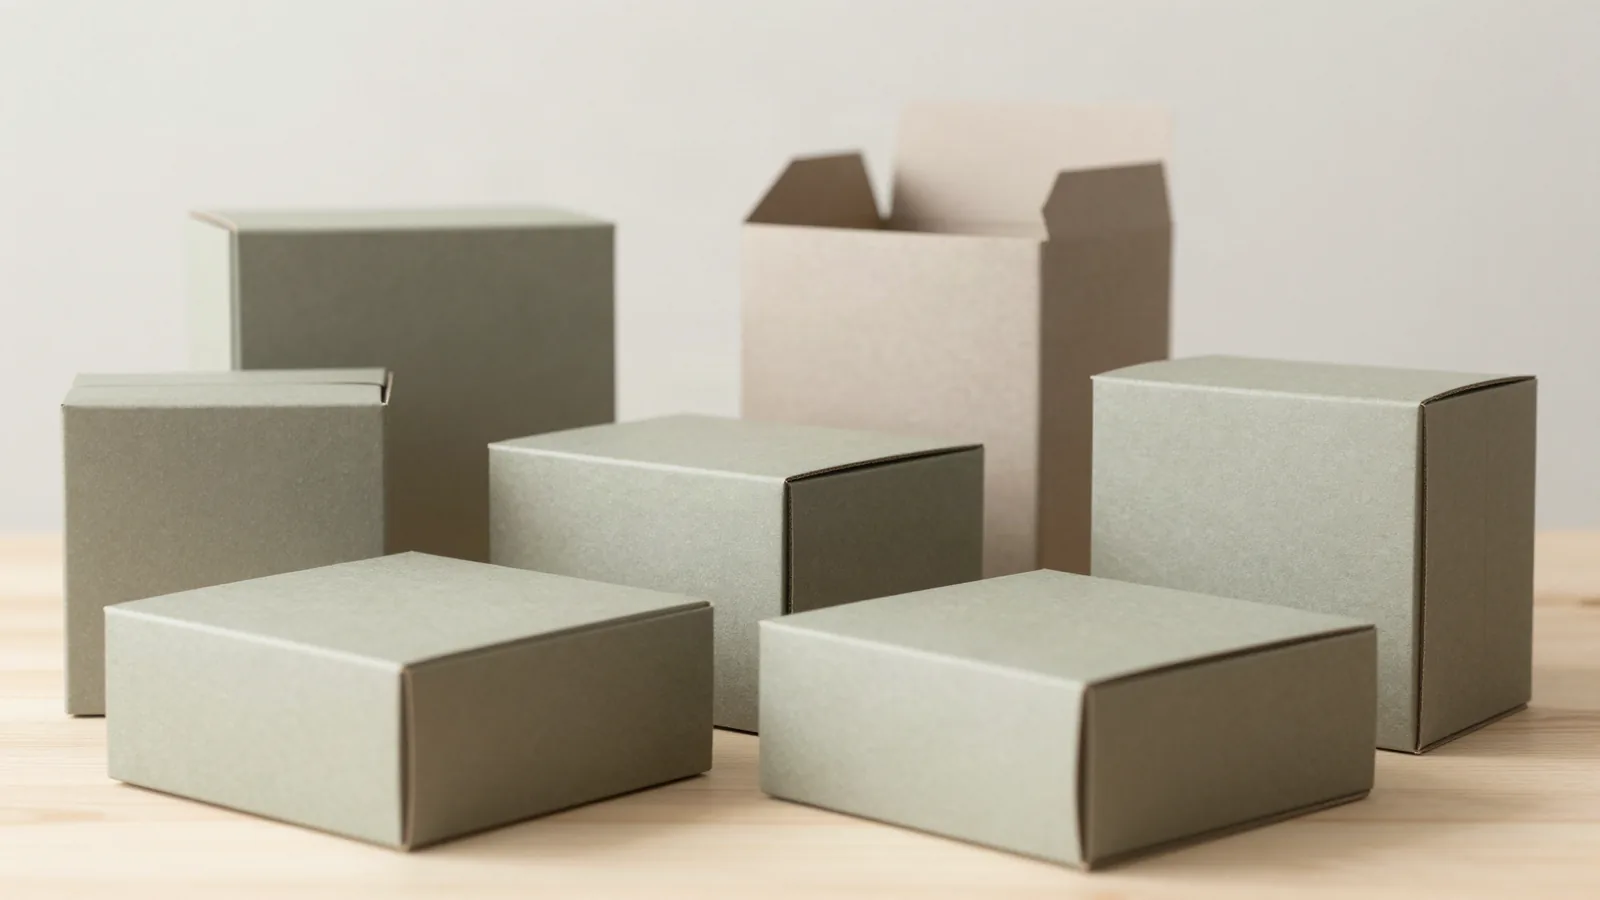




















































Designing boxes starts with the packed product and the way a person will open it. Record the product's maximum length, width, and height, then add the wrap, bag, insert, tray, or clearance that exists in the finished pack. A dieline is the flat cutting and folding template that maps panels, scores, cuts, bleed, safe areas, and glue zones. For visibility-led formats, compare window boxes, window display boxes, and window soap boxes.
Where should box design begin?
The first drawing should be the packed product's maximum length, width, and height, not the logo. Note whether the item is wrapped, bagged, inserted, packed loose, displayed upright, reopened, or shipped. A product that rattles needs a retention plan. A box that travels through parcel handling needs an outer footprint and a closure that will not catch.
Write the packing sequence in plain language. Does the product drop in, slide in, or sit in an insert before the lid closes? That sequence narrows the useful structures before typography and color take over the page.
Which box structure fits the use case?
The opening and base decide the first structure comparison. A straight tuck end has a familiar folding-carton opening. A reverse tuck end offsets the top and bottom folds. An auto-lock bottom forms the base during packing. A mailer, FEFCO 0427, is a roll end tuck top shipping-style structure. A two-piece rigid box separates a lid and base.
| Structure | Common use pattern | Design question |
|---|---|---|
| Straight tuck end | Folding carton with a straightforward opening | Does the tuck panel need frequent reopening? |
| Reverse tuck end | Retail carton with offset top and bottom folds | Will panel hierarchy stay clear at both ends? |
| Auto-lock bottom | Carton with a formed base during packing | Does the bottom support the packed product? |
| Mailer, FEFCO 0427 | Roll end tuck top shipping-style presentation | Will closure and board suit parcel handling? |
| Two-piece rigid | Separate lid and base presentation box | Is the added component useful? |
Choose the structure before the final artwork layout. Panel widths, folds, glue tabs, scores, and closure interference change the available canvas. Check that the front panel stays readable after folding, and keep small type away from a crease. The proof should show the actual panel order, not a flat artboard that leaves orientation to guesswork.
How do board and print process change the design?
SBS, C1S, and C2S paperboard are commonly specified in the 12 to 24 pt range. Kraft board is commonly discussed around 18 to 24 pt, and its natural tone changes the appearance of light colors and fine lines. Rigid chipboard is commonly about 1.5 to 3 mm and may be wrapped in 100 to 157 gsm art paper. That is a wrapped rigid construction, not a folding carton, so its corners, edges, and artwork joins need a different check.
Offset CMYK supports detailed artwork on paperboard. Flexo is commonly associated with corrugated packaging. Digital printing can suit a short run or variable artwork. Decide the process with the board and quantity in view, then name the surface treatment: matte lamination, gloss lamination, soft-touch, spot UV, foil stamping, embossing, debossing, or an uncoated stock appearance. RGB artwork can shift when converted for press, and a finish can change glare, contrast, scuff visibility, and how a fold reads in the hand.
How should windows and inserts be drawn?
A window is a structural opening with a clear film patch, so it changes both the front panel and the board around it. PET window film is commonly about 0.2 to 0.3 mm. Keep the opening away from a strong crease, glue flap, closure edge, and corner under load. A large window gives the product more visual weight but leaves less board for printing and stiffness.
An insert is a paperboard or other retention piece that keeps the product positioned inside the box. Show its height, contact points, and removal path in the dieline. A window format can be compared through window display boxes. For specialized small cartons, and are real catalog references for count, panel communication, and closure planning.
What artwork checks prevent avoidable errors?
The artwork check starts with a folded dieline, not a screen view of the flat file.
- Fold the dieline and confirm text direction on every panel, including the underside and back.
- Keep logos, supplied copy, and product names inside the artwork-safe area.
- Extend bleed beyond the cut line and separate spot colors or special finishes in the requested file format.
- Check barcode quiet zones, image resolution, overprint behavior, and opening graphics.
- Inspect a physical sample for panel alignment, color appearance, closure action, and insert fit.
Low-resolution art stays low-resolution after it reaches the press file. A barcode too close to a score may scan on screen and fail on the folded package. The digital proof is the place to catch those problems, before anything prints.
What should I send for a useful box quote?
The quote should describe the product in its packed state and the box that will hold it.
Send product dimensions, packed arrangement, preferred structure, board family, print coverage, finish list, quantity, delivery destination, and artwork status. If several formats are being compared, label each version and state its job. Product dimensions and packing sequence give the dieline a real starting point.
Custom Packaging Lane quotes box projects from a 100-unit minimum. Pricing is from $0.49 per unit at volume, quoted to spec. Production is typically 8 to 10 business days after proof approval, plus delivery. Free US shipping and free design support are available. The $19.99 sample kit is credited to the first order. Use custom packaging design when the structure and artwork need to be planned together.
Frequently Asked Questions
How do I begin designing a box for a product?
Begin with the packed product's maximum length, width, and height, then record wraps, bags, inserts, trays, clearances, shelf position, reopening needs, and shipping conditions. Compare structures before drawing final artwork. The dieline should follow the product and packing sequence, because forcing a graphic layout onto the wrong carton creates fit and closure problems.
What does a dieline show in box design?
A box dieline shows the flat cut and fold pattern, including cut lines, crease lines, bleed, safe areas, glue zones, panel order, and closure tabs. It lets structure and artwork be checked together. Fold the layout before approval so the front, back, sides, underside, and opening graphics are read in the same orientation as the finished box.
What paperboard thickness is common for folding cartons?
SBS, C1S, and C2S paperboard are commonly specified from 12 to 24 pt, while kraft board is commonly discussed around 18 to 24 pt. Rigid chipboard is commonly about 1.5 to 3 mm and may be wrapped in 100 to 157 gsm art paper. Product weight, folds, dimensions, finish, and packing method still need a structural check.
Can a box include a window or special finish?
A box can include a window or special finish when the structure leaves room for the feature and the dieline marks it clearly. PET window film is commonly about 0.2 to 0.3 mm. Matte or gloss lamination, soft-touch, spot UV, foil stamping, embossing, and debossing can change appearance, feel, and fold performance, so check the proof and assembled sample.
What information should I provide before requesting box design?
Provide the product dimensions, packed arrangement, preferred structure, board direction, print coverage, finish priorities, quantity, destination, and artwork status. Identify any window, insert, sleeve, drawer, or special opening early. Those details let the dieline reflect the actual product instead of a generic box shape that may fail at packing or opening.












