




























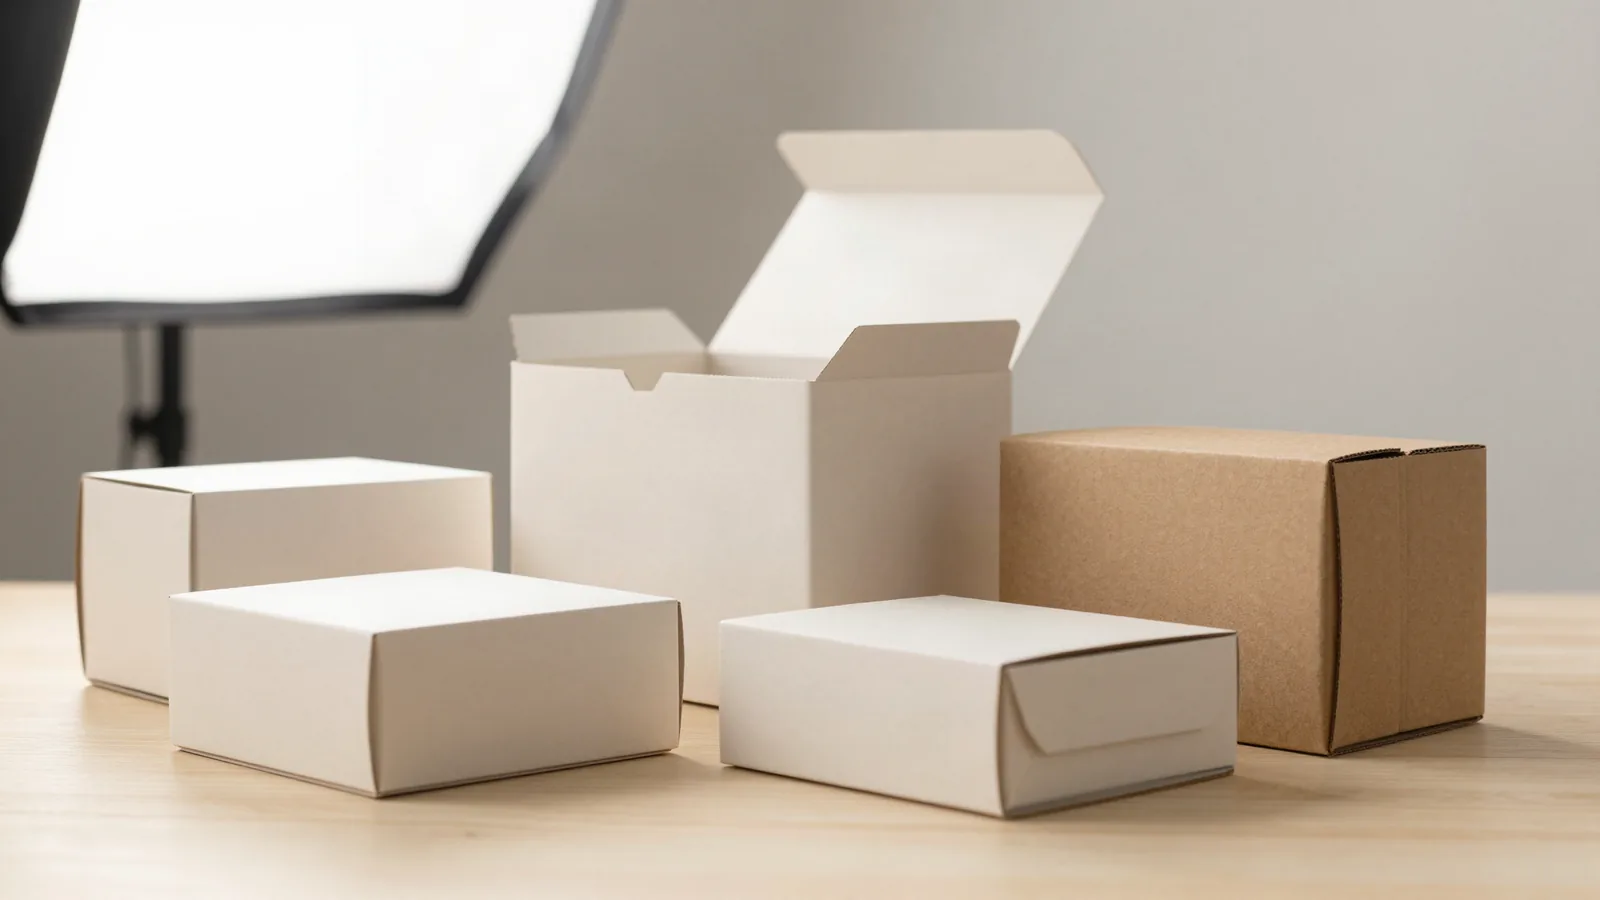




















































Making a custom box starts with the item that has to fit inside it. Record the packed product, opening direction, insert, board, artwork, and finish in one brief because a small cavity change moves panels, scores, glue tabs, and the dieline. A dieline is the flat cutting template used to print, cut, fold, and glue the box.
What should I decide before I make a box?
The packing motion determines the first structure choice. Record the finished product dimensions, how the item enters the box, and whether a tray, divider, liner, cap, or accessory stays inside. Then identify the job: shelf display, parcel delivery, retail handoff, gift presentation, or more than one of those. Artwork comes after that decision, so the logo does not dictate a box that packs badly.
Which measurements belong in the brief?
Inside length x width x depth belongs to the product cavity, while the finished box should be recorded in the same order. About 1/16 in, or 1.5 mm, is a common planning tolerance reference, not a substitute for a loaded fit check. A box with an exact cavity can hold the product neatly, but an insert, coating, or wrapped component changes the space available.
| Brief item | Typical reference | Why it changes the build |
|---|---|---|
| Product cavity | Inside length x width x depth | Sets the space around the packed item |
| Box specification | Length x width x depth | Keeps dieline and sample measurements aligned |
| Fit allowance | About 1/16 in (1.5 mm) | Gives a starting reference for movement and removal |
| Printed carton board | SBS, C1S, or C2S, commonly 12 to 24 pt | Changes stiffness, scoring, and fold behavior |
| Corrugated board | E, B, or C flutes, with 32 ECT as a common reference | Changes wall profile and shipping support |
Use the product's inside measurements for the cavity, not an outside dimension copied from a similar box. The 32 ECT figure is a common corrugated strength reference. The assembled box with the actual product is the check that matters.
Which structure fits the opening?
Straight tuck end and reverse tuck end cartons are folding structures with different tuck directions and panel relationships. Auto-lock and crash-lock bottoms change how the base sets up during packing. A sleeve covers an inner tray or carton. A drawer or slide creates a pull-out opening. A two-piece rigid box separates the base from the lid and gives the package a different presentation and storage shape.
- Use a tuck style when the top should open clearly and the carton needs to fold flat.
- Compare auto-lock or crash-lock when bottom assembly affects the packing bench.
- Choose a sleeve when a printed outer layer needs to cover an inner package.
How do board and print choices affect the result?
SBS, C1S, and C2S paperboard are common printed-carton references in the 12 to 24 pt range. Kraft board commonly falls in the 18 to 24 pt range and gives a different base color from coated white board. Rigid chipboard commonly measures 1.5 to 3 mm and can use a 100 to 157 gsm art-paper wrap. Corrugated E, B, and C flutes change the board profile, print surface, and way artwork crosses panels.
Offset CMYK suits detailed paperboard graphics. Digital printing can suit short runs or versions that may change. Flexo is common for corrugated work. Matte or gloss lamination changes glare, while soft-touch changes surface feel. Spot UV, foil stamping, embossing, and debossing need clear artwork layers. Put the intended logo, panel, or message on the art file instead of asking a finish to fix an unclear layout.
When should I add a window or insert?
A window makes sense when the buyer needs to see the product before opening. PET window material commonly falls in the 0.2 to 0.3 mm range, and the patch needs room away from folds, glue, and important copy. An insert makes sense when the product needs a fixed position, separation, or layered presentation. Paperboard partitions, trays, and fitted foam all change removal force, usable depth, and the amount of material inside.
Use the real catalog as a format reference. Custom tuck top mailer boxes show a parcel-style closure. Custom votive candle boxes provide a compact folding-carton reference. Custom woozy bottle boxes help with vertical clearance around a bottle form. Custom vial boxes give a small-item reference for spacing and panel proportions.
How do I move from dieline to approval?
The dieline should show cut lines, fold lines, glue areas, the opening, and any window or insert relationship. Check that the logo avoids folds, the barcode has a clear area, the opening reads correctly, and the product can be inserted and removed without fighting the structure. Review RGB art after conversion to CMYK, keep bleed in the file, and do not set type on a score. A physical sample shows corner pressure, lid interference, difficult access, and unwanted movement.
What should I send for a custom box quote?
A useful quote brief contains the packed product dimensions, preferred opening, insert or liner, board or flute direction, artwork status, finish, window, destination region, and handling path. State the physical result that matters most, such as compact fit or a wider reveal. If the package touches a consumable, ask about food-contact options for your product before choosing materials and finishes. Leave room for a structure recommendation when the product has unusual geometry.
Send that brief to Custom Packaging Lane for a quote from a 100-unit minimum. Pricing is from $0.49 per unit at volume, quoted to spec, with production typically 8 to 10 business days after proof approval, plus delivery. Free US shipping and free design support include a free dieline. The $19.99 sample kit is credited to the first order. Use custom packaging design to organize the next proof review.
Frequently Asked Questions
What measurements should I provide to make a custom box?
To make a custom box, provide the packed item's inside length x width x depth, its orientation, and every insert, tray, liner, cap, or accessory that stays inside. State the finished box as length x width x depth as well. About 1/16 in (1.5 mm) is a common planning reference, but the loaded product must confirm the fit.
Which box structure should I begin with?
Begin with the way the product enters and leaves the package. Straight tuck and reverse tuck cartons fold flat with different tuck directions. Auto-lock and crash-lock bases change setup. Mailers suit parcel handling, while sleeves, drawers, slides, and two-piece rigid boxes change the opening and storage shape.
When does an insert make sense?
An insert makes sense when a custom box needs a defined product position, separation, or layered presentation. Paperboard partitions, trays, and fitted foam change usable depth and removal. Test the actual product inside the assembled insert because a flat dieline cannot show compression, movement, difficult access, or lid interference.
How should I choose board for a printed box?
Choose printed carton board after checking folds, stiffness, surface, and handling. SBS, C1S, and C2S paperboard commonly fall in the 12 to 24 pt range. Kraft board commonly falls in the 18 to 24 pt range. Rigid chipboard is commonly 1.5 to 3 mm with a 100 to 157 gsm art-paper wrap.
What does a custom box proof need to show?
A custom box proof needs the panel order, cut and fold lines, glue areas, opening, barcode space, window or insert position, and finish notes. Review converted CMYK art, bleed, type near scores, and the assembled sample with the real product. Those checks expose fit, access, and print problems before the production file is approved.












