




























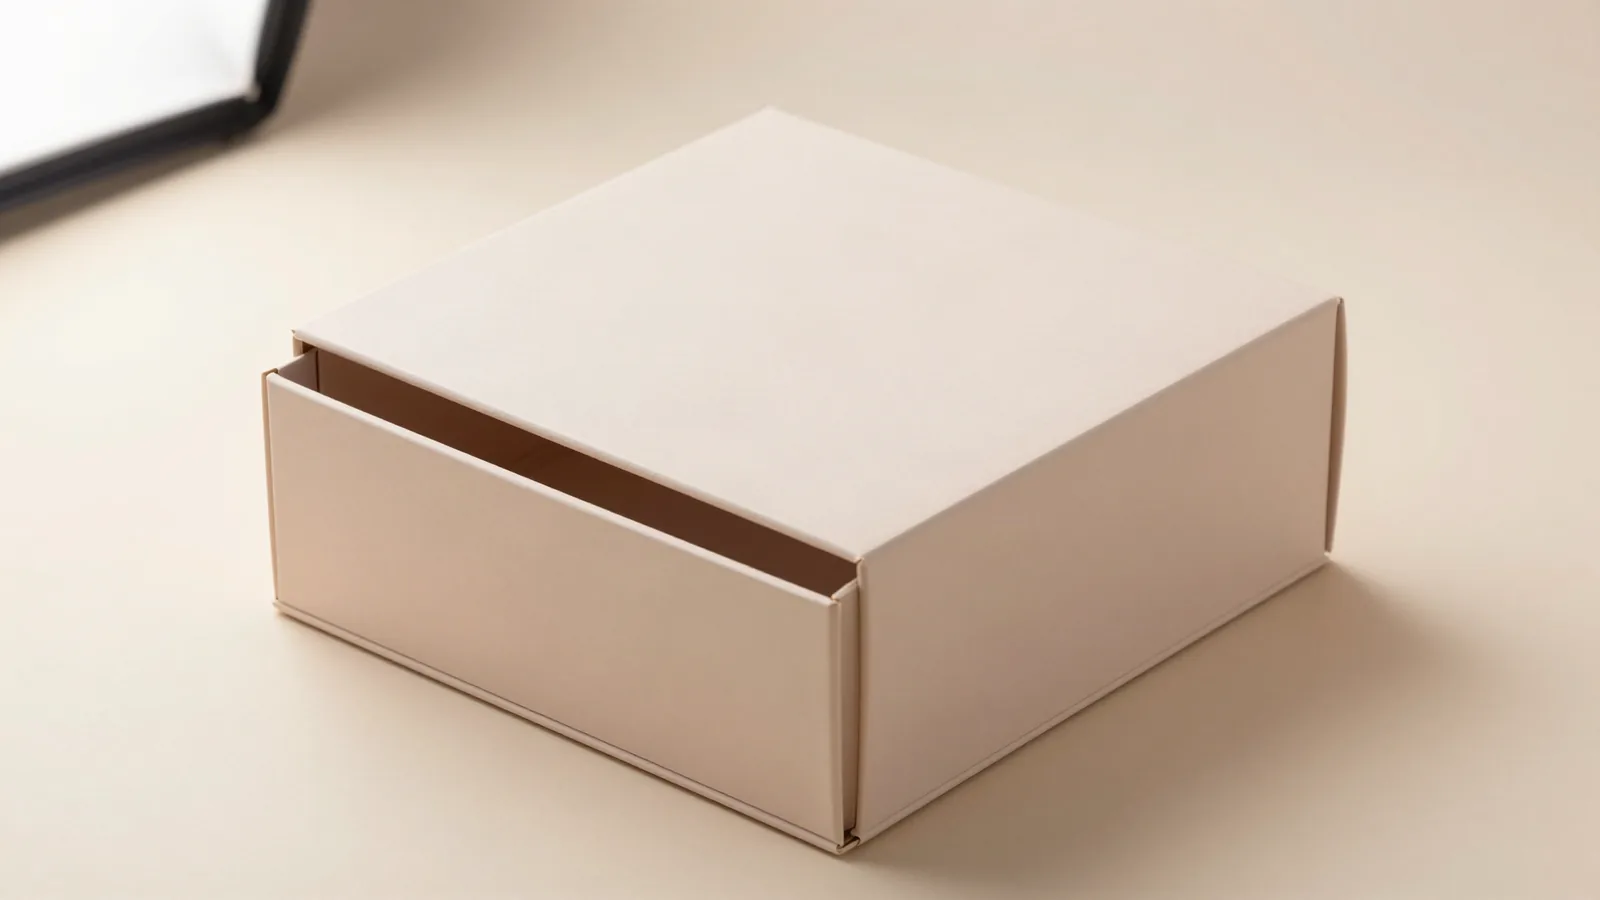




















































What makes a match slide rigid box different?
The tray moves through a close-fitting sleeve in a straight pull, so the opening reads differently from a lift-off lid. A match slide rigid box is a drawer-style package. The sleeve is the outer rigid cover, and the tray is the inner part that carries the product. The name describes the motion and proportion, not the product category.
Set the pull direction before drawing the cavity. Record how far the tray should travel, where the product sits, what stops the tray, and whether the sleeve or tray carries the main artwork. An insert changes the usable cavity and can make a freehand size look right on screen but bind in the assembled box.
Which rigid materials work for a slide box?
A common build uses 1.5 to 3 mm chipboard wrapped in 100 to 157 gsm art paper. Chipboard supplies the rigid shell; art paper supplies the printed outer surface. The sleeve and tray need matching dimensions, scores, and wrap allowances, because a clean slide depends on the assembly rather than one panel alone.
| Format decision | Common trade reference | Buyer detail to define |
|---|---|---|
| Rigid board | 1.5 to 3 mm chipboard | Tray and sleeve construction |
| Wrapped surface | 100 to 157 gsm art paper | Artwork panels and surface treatment |
| Opening structure | Drawer or slide, sleeve, two-piece rigid | Pull direction and reveal depth |
| Dimensional convention | Length x width x depth, inside measurements | Product, insert, and tolerance reference |
Use inside length x width x depth for the product cavity. A common packaging convention is about 1/16 in (1.5 mm) tolerance around the stated inside measurements. Treat that as a starting reference, then check the packed product, insert, wrap, and retention method together.
How should the slide movement shape the design?
The pull direction should be fixed before the cavity is drawn, because the sleeve controls tray travel and alignment. Give the tray enough clearance to move without scraping the wrap, but enough retention that the box does not open from ordinary handling. The product should stay organized inside the tray instead of becoming the fit reference for the sleeve.
Use rigid printed boxes when the wrapped surface carries the main visual work. Compare rigid boxes with sleeve and tray when the tray and cover need separate jobs. Choose custom rigid boxes with inserts when the cavity must hold a product or set in place. A more finish-led direction is covered by custom luxury rigid boxes. For logo placement across the sleeve and tray, see custom boxes with logo planning.
Which finishes fit a matchbox-style presentation?
Matte lamination absorbs more reflected light, while gloss lamination gives printed color a brighter surface. Soft-touch adds a smoother hand feel. Spot UV puts a glossy detail on selected artwork. Foil stamping adds metallic detail, embossing raises the wrap, and debossing presses it inward. Offset CMYK, a four-ink print process, handles detailed wrapped graphics.
Finish placement needs to respect the moving assembly. Keep heavy effects away from pull areas, exposed edges, scores, and surfaces that meet inside the sleeve. Check small type and registration in the digital proof before anything prints. A match slide box can look tidy in a flat file and still feel wrong if the tray rubs at the first pull.
What should go into the quote brief?
A useful quote brief starts with the packed product dimensions and then records the movement details that set the tray and sleeve. Include inside length, width, and depth, drawer direction, desired reveal, insert or cavity concept, board wrap, print method, finish priorities, and the way multiple units should sit together when sold as a set.
- State which end opens and how far the tray should travel.
- Mark the cavity, insert, divider, or retention point.
- Separate sleeve artwork from tray artwork.
- Identify edges and surfaces that meet during sliding.
How can I assess a physical match slide sample?
A sample earns its place when you need to feel the pull and inspect where the tray stops. Check sleeve alignment, corner construction, artwork position, product retention, insert fit, and how the product comes out of the tray. Record whether the opening needs two hands, whether the tray catches, and whether the wrap marks where the surfaces meet.
Custom Packaging Lane can scope the project from a 100-unit minimum, with pricing from $0.49 per unit at volume, quoted to spec. Production is typically 8 to 10 business days after proof approval, plus delivery. Free US shipping and free design support are available. Ask for a free dieline, and use the $19.99 sample kit, credited to the first order, to test the assembly before proof approval.
Frequently Asked Questions
What is a match slide rigid box used for?
A match slide rigid box is used for products that benefit from a drawer-style opening and a controlled reveal. The inner tray slides through an outer sleeve, so the package can present one item or a coordinated set in stages. The format also gives the sleeve and tray separate surfaces for artwork, instructions, or product information.
How do I choose tray and sleeve dimensions?
Start with the product's inside length, width, and depth, then account for the insert, wrap, and support inside the tray. Define the pull direction and the intended reveal before the cavity is drawn. A physical check confirms that the tray moves cleanly while the product stays in position during opening and removal.
Can the sleeve and tray use different artwork?
The sleeve and tray are separate surfaces, so their artwork can be coordinated rather than treated as one flat panel. Decide which part carries the logo, which part carries instructions or product information, and where the reveal should occur. Check print coverage and finish placement around the edges that meet during sliding.
Which finishes are common on rigid slide boxes?
Matte or gloss lamination, soft-touch, spot UV, foil stamping, embossing, and debossing are common finish options for wrapped rigid packaging. The choice should follow the artwork and moving structure. Place foil or raised details away from pull areas, corners, and sleeve edges where handling can mark the surface.
What should a physical sample check?
Check tray movement, sleeve alignment, product retention, insert fit, corner construction, artwork position, and how the package opens in the hand. Note whether the product can be removed without forcing the tray or disturbing nearby components. Those observations give the dieline and finish discussion a physical reference before production artwork is approved.












