


















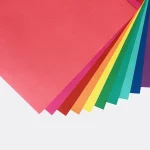



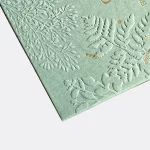
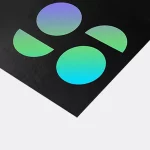
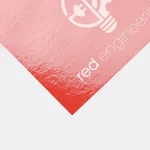




























RGB to CMYK conversion is the move from display color to print color, but a packaging file can still fail for reasons that have nothing to do with the conversion. RGB uses light on a screen. CMYK describes ink channels on a package. A print-ready handoff keeps an editable source, a named profile, clean linked assets, and a layout that respects trim, folds, and glue areas. The goal is a file someone can open and check without guessing.
What should you save before RGB to CMYK conversion?
Save an untouched RGB master and create a separate CMYK working copy. Keep layers, linked images, vector artwork, type, masks, and the source profile with the master. A color profile is a set of instructions that tells software how to interpret the file for a source or print condition. Name the master so nobody mistakes it for the file approved for production.
Use the project CMYK profile named in the proof instructions. CPL does not publish one universal profile for every package, board, press, or finish. If the project does not name a profile, ask before conversion. A screenshot is not a production source.
How do you prepare vector and raster artwork?
Vector artwork is built from paths, so logos, type, and simple shapes can stay sharp when the package is resized. Raster artwork is made from pixels, so photographs, textures, and rendered effects must be checked at their placed size. Put both types in the complete package layout before judging the conversion.
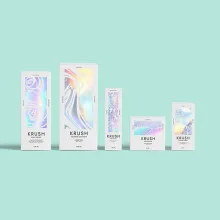
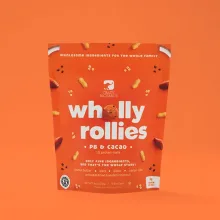
Check placed images separately. A vector logo can be in CMYK while a linked photograph remains RGB. Transparency, shadows, gradients, and blend modes can also change when the file moves toward print. Mixed color references in one layout can make a background and its supporting artwork move in different directions. Record which application should handle each asset, then keep the converted copy beside the original source.
What does a packaging conversion checklist catch?
A packaging conversion checklist catches file assembly errors as well as color changes. Use the whole layout, not a cropped screen view. The table below gives the check and the handoff action.
| File area | Possible issue | Handoff action |
|---|---|---|
| Color profile | The output condition is unclear | Name the requested project profile |
| Placed images | RGB assets remain inside a CMYK layout | Check each image and record its intended treatment |
| Transparency | Shadows, masks, or blends change for print | Inspect effects in the complete layout |
| Typography | Type shifts, becomes too small, or crosses structure | Check spelling, folds, trim, and readable placement |
| File package | Links, fonts, or versions are unclear | Label the production copy and include required assets |
After this pass, the file should tell prepress what changed, what remains editable, and which questions belong in the digital proof. That is more useful than sending a new export with no version note.
How do you keep folds, trim, and bleed out of trouble?
Keep color-sensitive type and logos inside a clear panel area. A dieline is the flat cutting template that shows panels, scores, cut lines, and glue tabs. Trim is the final cut edge. Bleed is artwork that continues past that edge, so a small cutting shift does not expose an unprinted strip.
Inspect the front, sides, interior panels, opening areas, and artwork near structural lines. Type set on a score can crack or become hard to read after folding. An insert cut too loosely lets the product rattle. An insert cut to the exact product size can bind after board and finish are accounted for, so check the fit against the product and package format. Keep structural notes visible in the handoff.
How should you label a CMYK production file?
Use a filename that identifies the package, version, color mode, and proof stage. Keep the RGB master, CMYK working file, linked assets, fonts or outlined type, and proof notes in one project record. If a variant changes the copy or panel art, give it a distinct version name instead of overwriting the previous file.
Do not rely on the word final as the only label. Write down the profile, package format, finish direction, and the panel that needs review. A clear filename lets the next correction point to the same file rather than to an earlier export.
What should go in the prepress handoff?
The prepress handoff should include the editable layout, linked images, fonts or outlined type, dieline notes, requested CMYK profile, package format, panel orientation, finish direction, and focused proof questions. State which color carries brand meaning and where it sits. The digital proof is the checkpoint before anything prints.
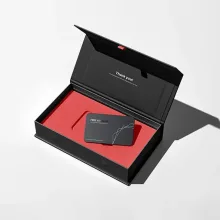
Check the file against the package it will become. Custom mailer boxes put artwork across exterior and interior panels. Custom shipping boxes need the visible shipping panels checked. Rigid printed boxes use chipboard wrapped in printed paper, so the assembled surface should be part of the review.
CPL's custom packaging design support can help organize the dieline and artwork. The MOQ is 100 units. Pricing is from $0.49 per unit at volume, quoted to spec. Production is typically 8 to 10 business days after proof approval, plus delivery. Free US shipping and free design support are available. The $19.99 sample kit is credited toward the first order.
Frequently Asked Questions
Does converting RGB to CMYK overwrite the original artwork?
RGB to CMYK conversion should not overwrite the original artwork. Save an untouched RGB master and create a separate CMYK working copy with its profile, linked assets, and proof notes. The master lets you compare the source intent, make a fresh conversion, or correct one layer without rebuilding the package file.
What is the difference between vector and raster packaging art?
Vector packaging art uses paths for logos, type, and shapes, so it stays sharp as the layout changes. Raster art uses pixels for photographs, textures, and rendered effects, so it needs a check at its placed size. A print handoff should identify both types and inspect them in the complete package layout.
Why does packaging artwork need a dieline?
A packaging dieline is the flat cutting template that shows panels, scores, cut lines, and glue tabs. It gives artwork a structural reference before proof approval. Keeping type and logos away from scores and glue areas reduces placement problems, while bleed beyond the trim edge prevents a thin unprinted strip at the cut.
How should I name a CMYK file for print?
Name a CMYK print file with the package, artwork version, color mode, and proof stage. Keep the RGB master, CMYK working copy, linked images, fonts or outlined type, profile details, and proof notes in the same project record. A distinct version name prevents a corrected file from being confused with an earlier export.
What are the commercial terms for CPL packaging artwork?
Custom Packaging Lane has an MOQ of 100 units. Pricing is from $0.49 per unit at volume, quoted to spec. Production is typically 8 to 10 business days after proof approval, plus delivery. Free US shipping and free design support are available, and the $19.99 sample kit is credited toward the first order.