




























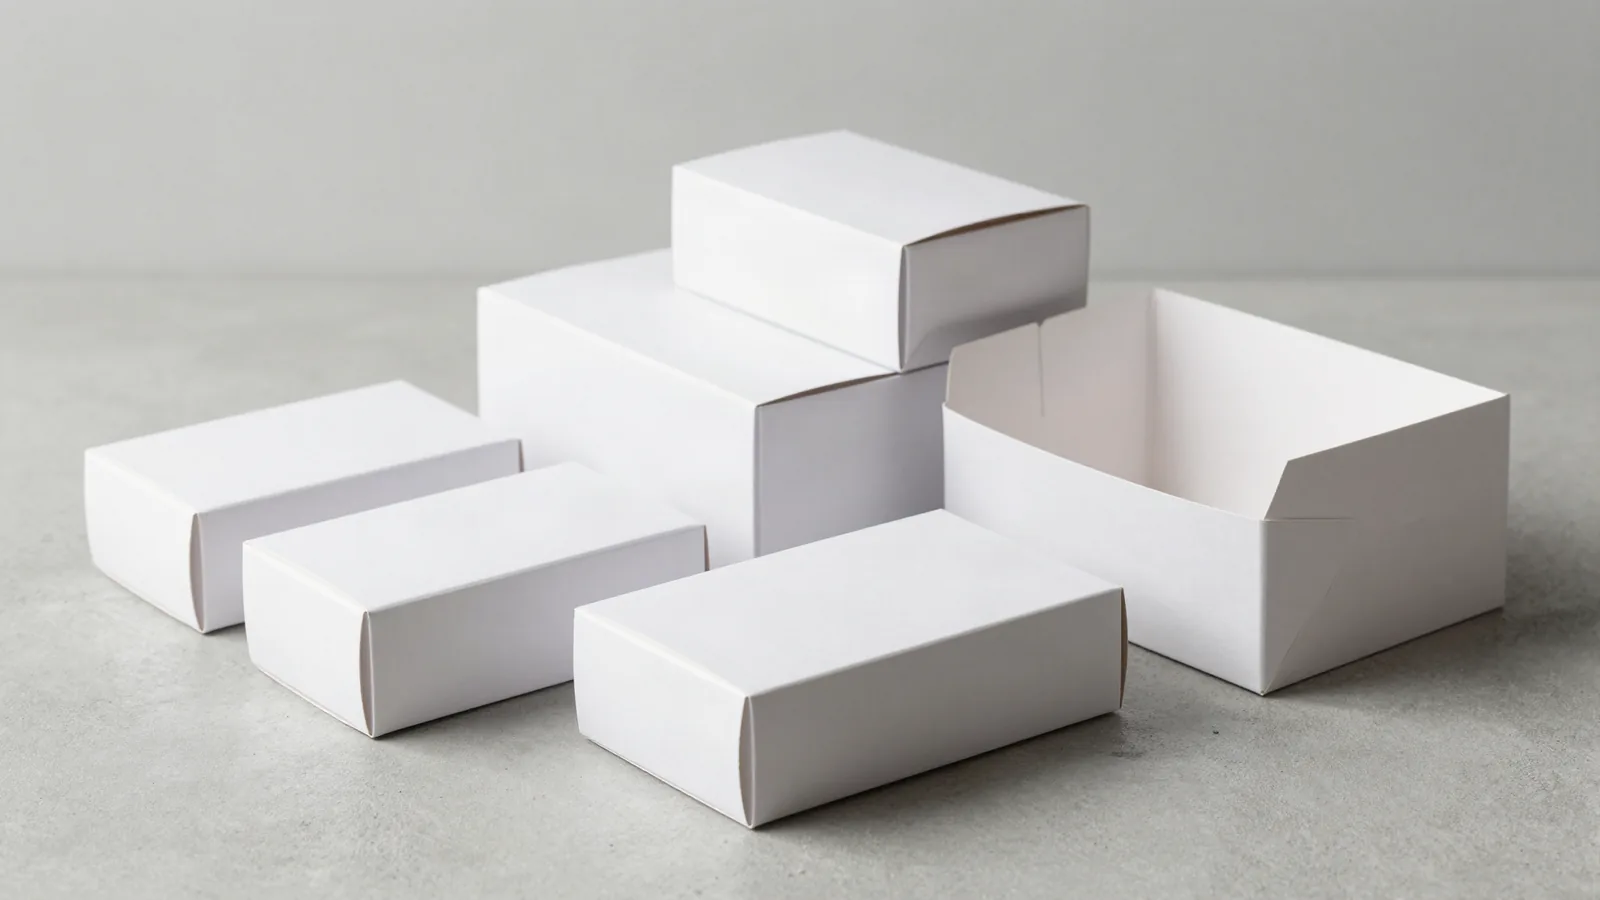




















































A cream box has two fit problems to solve: the carton must hold the jar, tube, or compact, and the printed panels must stay readable after folding. Start with the filled container in the position the customer will remove it. Measure length x width x depth, then decide whether a folding carton, sleeve, rigid format, or insert gives the right support. The cap, pump, lid, or tube shoulder can change the cavity by more than the body size suggests.
What does a cream box need to define first?
The first decision is the product envelope, which is the full space occupied by the packed cream container and any wrap or insert. Record the orientation, closure clearance, removal path, and panels that can contact the lid or pump. A simple folding carton may be enough, while a sleeve or rigid format changes how the customer opens the package. Artwork should follow the usable panels and stay clear of tucks, creases, glue, and contact areas.
| Format or material | Typical industry reference | Proof check |
|---|---|---|
| SBS, C1S, or C2S folding carton | 12 to 24 pt | Panel stiffness, folds, print coverage, and cavity clearance |
| Kraft folding carton | 18 to 24 pt | Surface tone, ink contrast, and crease behavior |
| Rigid chipboard format | 1.5 to 3 mm chipboard, wrapped in 100 to 157 gsm art paper | Base, lid, drawer, slide, or magnetic flap fit |
| Surface finish | Matte, gloss, soft-touch, foil, embossing, or debossing | Effect location and clearance from creases |
Which board and carton style should I compare?
SBS, C1S, and C2S are common paperboard references for printed folding cartons. A straight tuck end changes the top-opening motion, while a reverse tuck end moves the tuck panels to the opposite direction. Auto-lock and crash-lock bottoms change how the base assembles. Kraft board changes the surface tone and ink contrast. Rigid chipboard, wrapped in art paper, holds its shape and supports a separate lid, drawer, slide, sleeve, or magnetic flap. Choose the format from the container, removal path, and support points.
The cream boxes catalog page is the closest product reference for this topic. Wine box packaging gives a comparison for a taller, defined cavity. Custom foam box inserts show how a fitted interior can organize a container and accessories. Embossed tin boxes provide a contrast when the decision is between a folding carton and a separate rigid container.
How should I measure a cream box?
Use inside length x width x depth for the usable cavity and label outside dimensions separately. Mark the container orientation, cap clearance, insert thickness, flap space, and the area needed to remove the product. About 1/16 in, or 1.5 mm, is a common planning tolerance for box measurements. Inside dimensions describe the cavity; outside dimensions include the board or wrap. A nominal carton size is not the same as usable interior space.
How can the finish support a cream product brand?
Offset CMYK carries detailed artwork across printed paperboard, while digital printing can suit short runs or artwork tests. Offset is the comparison when the run needs production-scale sheet printing, but the process choice still requires quantity and artwork details. Matte lamination reduces sheen, gloss lamination increases reflection, and soft-touch changes the hand feel. Spot UV isolates a selected graphic area. Foil stamping, embossing, and debossing add contrast or texture when the board and converting plan support them.
Mark each effect on the dieline and keep it away from scores, folds, glue areas, tucks, and the opening path. At a press check, compare color blocks, trim alignment, and the panel artwork against the approved proof before finishing.
When is an insert useful inside a cream carton?
An insert is useful when the container or accessories need fixed contact points, separation, or a consistent orientation. Plan the insert with the box cavity, product profile, and opening sequence. A cutout that matches only the body can still pinch a pump, cap, or shoulder. Check the actual container against the support and show how the customer removes it without catching the flaps or inner walls.
What should I include in a cream box proof checklist?
Use the filled cream container as the reference object. Check the following items:
- Product profile, orientation, cap or lid clearance, and interior cavity.
- Board family, caliper, wrap construction, closure, base, and opening sequence.
- Inside and outside length, width, and depth, plus insert thickness and location.
- Artwork across every panel, with type and required information clear of folds, glue, and tucks.
- Matte, gloss, soft-touch, spot UV, foil, embossing, or debossing locations.
- Proof alignment with the actual container or a dependable product drawing.
Custom Packaging Lane quotes cream boxes from a 100-unit minimum, with pricing from $0.49 per unit at volume, quoted to spec. Production is typically 8 to 10 business days after proof approval, plus delivery. Free US shipping and free design support are available, and a free dieline is drawn from the product dimensions. The $19.99 sample kit is credited toward the first order. Use custom packaging design when the structure, artwork, and finish need to be coordinated around the container.
Frequently Asked Questions
Which board is common for a cream carton?
Printed cream cartons commonly use SBS, C1S, or C2S paperboard in the typical 12 to 24 pt range. Kraft board is commonly referenced in the typical 18 to 24 pt range. A rigid format uses 1.5 to 3 mm chipboard wrapped in 100 to 157 gsm art paper, then the lid, drawer, slide, sleeve, or flap is checked around the container.
How should I measure a cream box?
Measure the usable cavity as inside length x width x depth and list outside dimensions separately. Include the cream container, orientation, cap or lid clearance, insert thickness, flap space, and removal area. About 1/16 in, or 1.5 mm, is a common planning tolerance. Check the assembled box against the actual container.
When should I add an insert?
Add an insert when the cream container or its accessories need fixed contact points, separation, or a repeatable orientation. Plan the insert with the cavity and opening path. The support should clear the cap, pump, or tube shoulder, then be checked with the actual container so removal does not catch on the carton.
Which finishes can suit a printed cream box?
Matte or gloss lamination changes surface sheen, while soft-touch changes hand feel. Spot UV isolates a selected graphic. Foil stamping, embossing, and debossing add contrast or texture when the board and converting plan support them. Map every effect on the dieline and keep it clear of creases, glue areas, closure panels, and the opening path.
Which opening works for a cream carton?
A straight tuck end and reverse tuck end create different top-opening motions. Auto-lock and crash-lock bottoms change the base assembly. A sleeve, drawer, two-piece rigid box, or magnetic flap creates a different presentation and removal path. Choose the opening from the container shape, support needs, storage, and the way the customer reaches the product.












