




























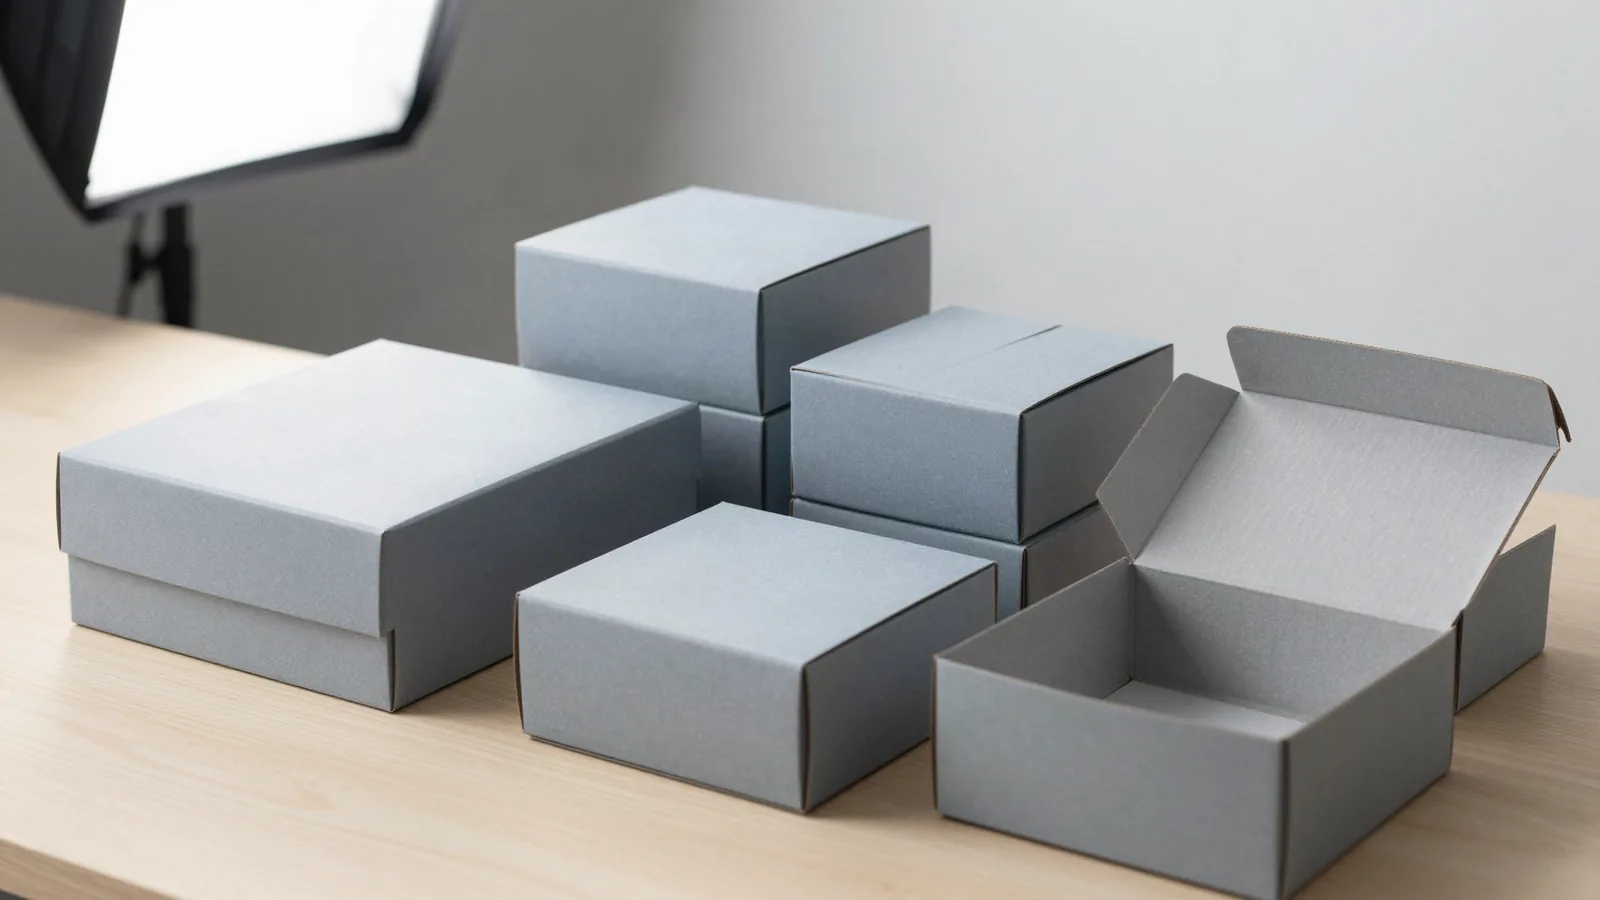




















































A custom box maker should turn a product brief into a structure, dieline, artwork proof, and finish plan. A dieline is the flat cutting template used to print, cut, score, and fold the box. The brief must match inside dimensions, opening, board, print coverage, inserts, windows, and handling. Approve the proof only after checking the filled product against the layout.
Use custom packaging design when the structure or artwork still needs shaping. The catalog gives practical starting points such as custom foam box inserts, custom DNA test kit boxes, embossed tin boxes, and custom votive candle boxes. These references point to different fit, access, and presentation questions. They do not replace the measurements of the product being packaged.
What does a custom box maker need?
Product dimensions determine the cavity, while the opening, board, artwork, and pack-out determine the rest of the proof. Send the packed product in its intended orientation, then describe how it loads, where it is gripped, and what the customer sees first.
| Design input | Common detail | Proof output |
|---|---|---|
| Product fit | Inside length x width x depth and orientation | Panel size and clearance |
| Structure | Opening, closure, insert, window, and pack-out | Folds, glue areas, and assembly path |
| Material | Board family and caliper | Surface and stiffness direction |
| Graphics | Logo, copy, color coverage, and panel order | Artwork proof |
| Finish | Lamination, soft-touch, spot UV, foil, embossing, or debossing | Finish notes by panel |
Use inside measurements for the product cavity. About 1/16 inch, or 1.5 mm, is a common planning convention, but exact clearance still depends on the product and structure. Note which side opens, where the product is gripped, and whether the customer sees the front, lid, sleeve, or drawer first.
Which board and structure should I choose?
Paperboard, rigid chipboard, and corrugated board solve different handling problems. SBS, C1S, and C2S paperboard commonly fall in the 12 to 24 pt range. Kraft board commonly falls in the 18 to 24 pt range. Rigid chipboard commonly measures 1.5 to 3 mm and may be wrapped in 100 to 157 gsm art paper. Corrugated structures commonly use E, B, or C flutes, with 32 ECT as a common board-strength reference.
Caliper and flute choice affect folds, stiffness, panel feel, and the space left for the product. Straight tuck and reverse tuck can suit folding cartons. Auto-lock bottom and crash-lock structures can simplify closing for suitable formats. A sleeve can wrap a tray or carton. A mailer can combine a shell and closure. Two-piece rigid, magnetic flap, drawer, and slide structures shift the opening toward presentation and organized access.
Which print method suits the run?
Offset CMYK is common for detailed paperboard graphics. Digital printing is commonly considered for short runs or versioned artwork. Flexo is common for corrugated surfaces. Matte or gloss lamination changes reflection, soft-touch changes hand feel, and spot UV can direct contrast to a selected panel. Foil stamping, embossing, and debossing add physical or reflective detail. Compare the print method, board surface, ink coverage, finish, and quantity together.
How do windows and inserts affect the box?
A PET window is commonly 0.2 to 0.3 mm, so the cutout changes the panel, patching, and available graphics. A foam insert needs its own cavity shape, product orientation, removal path, and clearance under the lid. A divider or sleeve changes usable inside space. Place these elements on the dieline from the start, then check that the assembled box closes and presents the intended panel.
What should the proof show?
A useful proof shows the folds, panels, glue areas, closure, insert relationship, window, opening, and artwork alignment in one layout. Check title placement, readable type, color coverage, panel order, score lines, and finish locations. Put a real product into the proposed cavity before approving the proof. Low-resolution art, RGB files converted for press, missing bleed, or type set too close to a score can create problems after the file is released.
What makes a custom box quote accurate?
Quantity, board family, caliper, print coverage, finish, tooling, and shipping zone all belong in the quote brief. Include the product dimensions, structure, opening, closure, insert, window, artwork status, delivery destination, and assembly preference. If a dimension or artwork element changes, update the dieline before approval. We send a digital proof before anything prints.
Custom Packaging Lane quotes custom boxes from a 100-unit minimum, with pricing from $0.49 per unit at volume, quoted to spec. Production is typically 8 to 10 business days after proof approval, plus delivery. Free US shipping and free design support include a free dieline. The $19.99 sample kit is credited toward the first order.
Frequently Asked Questions
Can I start with a structure before measuring?
A structure can be discussed before the measurements are final, but the final choice depends on the product footprint, opening clearance, board caliper, closure, and pack-out. Straight tuck, reverse tuck, auto-lock bottom, crash-lock, sleeve, mailer, and two-piece rigid formats solve different handling problems. Confirm the direction against a filled proof.
What is a dieline in custom packaging?
A dieline is the flat cutting template used to print, cut, score, and fold a custom box. It shows panels, folds, glue areas, openings, windows, inserts, and closure relationships. The dieline should use the product's inside cavity measurements, then be checked with the assembled box and filled product before artwork approval.
Is digital printing a good fit for short runs?
Digital printing is commonly considered for short runs or versioned artwork because it can move artwork into production with less setup than some conventional routes. Offset CMYK suits many detailed paperboard graphics, while flexo is common for corrugated surfaces. Compare the print method with board, ink coverage, finish, and quantity.
How much space does an insert take?
An insert takes space from the usable box cavity and adds its own fit requirements. Define the cavity shape, product orientation, removal path, lid clearance, and insert material before fixing the outside structure. A foam insert, divider, or sleeve should appear on the same proof as the box so the assembled package still closes.
What should I check in a finished sample?
A finished sample should be checked with the real product in place. Test the opening, grip, closure, insert fit, lid or sleeve clearance, score lines, artwork alignment, type, color coverage, and finish locations. Look for low-resolution art, RGB color shifts, missing bleed, and type that sits too close to a score or fold.












