




























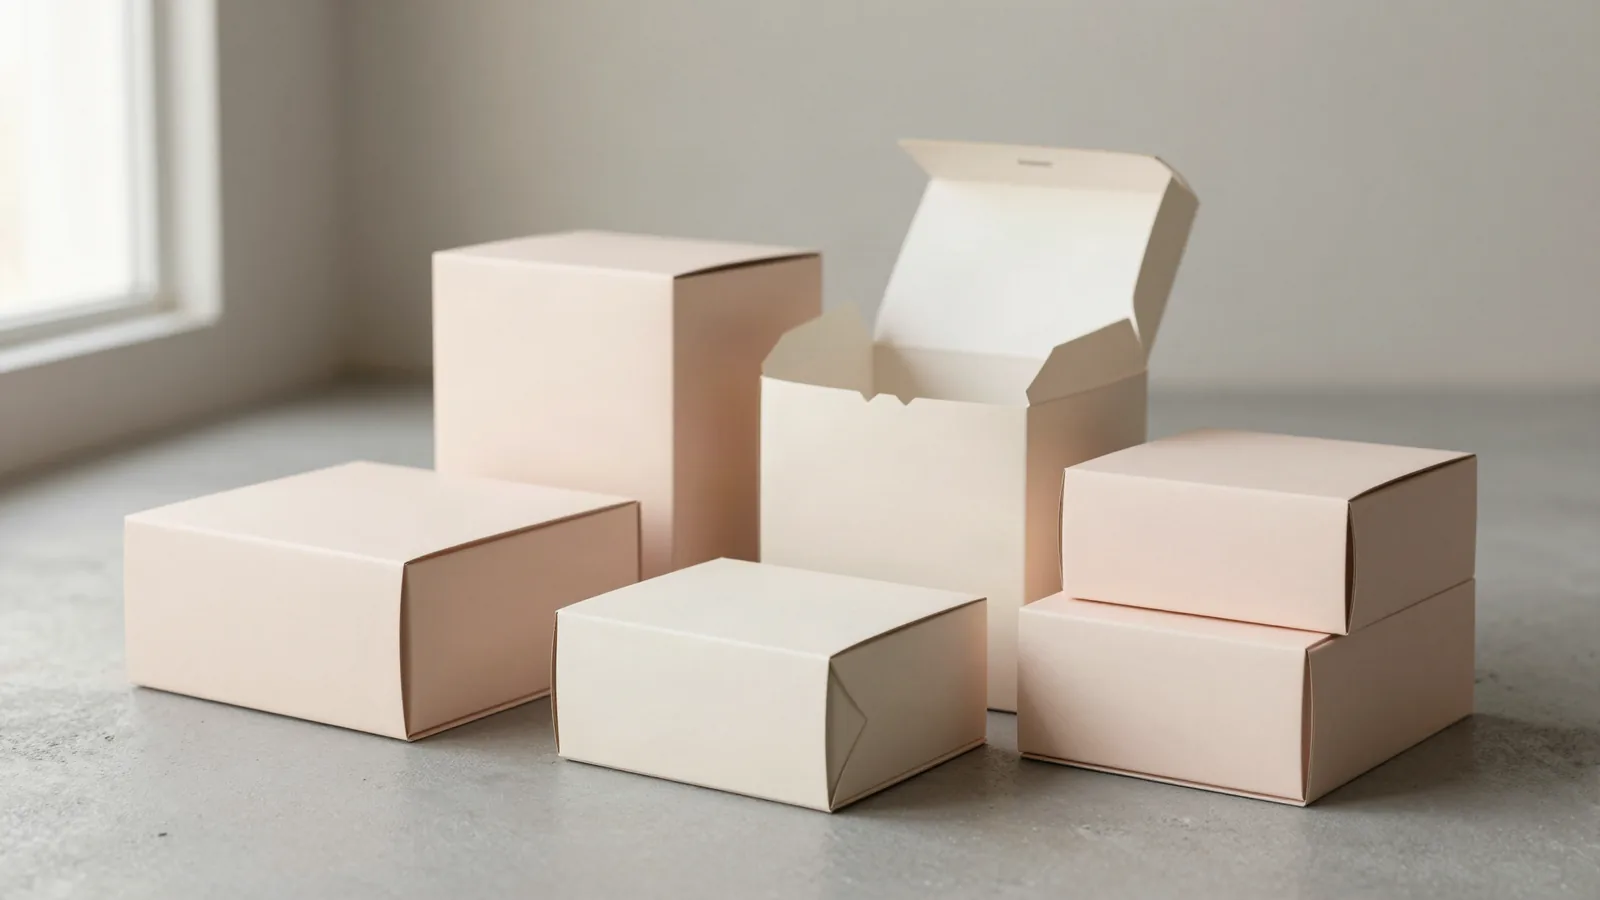




















































What does a custom box design need to solve?
The package has to fit the packed product before the artwork has a job. A dieline is the flat cutting template that shows cut lines, folds, glue zones, and panel order. Start with inside length x width x depth, product orientation, tissue, insert, and accessories. About 1/16 inch, or 1.5 mm, is a common planning tolerance, but a sample still has to confirm the fit.
Separate structure, artwork, and finish in the brief. Structure controls shape and opening. Artwork controls panel hierarchy, color, copy, and recognition. Finish controls reflection and hand feel. When those layers stay distinct, a reviewer can identify a structural error without searching through the artwork file.
Which box structure should I design first?
Straight tuck end suits a folding carton with a clear front, while an auto-lock bottom suits a package that needs a formed base. A mailer, roll end tuck top is built around direct-shipping presentation. Two-piece rigid gives a separate lid-and-base reveal, and a drawer or slide creates a layered opening with tray clearance.
| Structure | Design strength | Question to answer |
|---|---|---|
| Straight tuck end | Efficient folding carton with a clear front | Does the product need a simple retail opening? |
| Auto-lock bottom | Fast setup with a formed base | Will the bottom carry the product weight? |
| Mailer, roll end tuck top | Direct-shipping presentation | Will the box travel without a second carton? |
| Two-piece rigid | Separate lid-and-base reveal | Does the opening justify the structure? |
| Drawer or slide | Layered reveal and repeatable opening | Is there clearance for the tray and pull? |
SBS or C1S paperboard in the common 12 to 24 pt range supports many printed folding-box designs. Kraft board in an 18 to 24 pt range can shift the surface toward natural texture. For a rigid presentation, chipboard around 1.5 to 3 mm wrapped in 100 to 157 gsm art paper is a common construction. Use the board choice to support the opening style, product weight, and handling feel.
How should artwork sit across the box?
Put the main message on the panel facing the shopper first, then keep type and marks away from scores, glue zones, locking tabs, and folds. Secondary panels can carry product details, care directions, ingredients supplied by the brand, or a QR destination. A digital proof is the artwork mapped to the dieline for review, so inspect it at final package size.
Offset CMYK is commonly used for consistent full-color coverage. Digital printing is often considered for short runs, prototypes, and versions. Matte or gloss lamination changes glare. Soft-touch changes hand feel. Spot UV creates contrast on selected graphics, but it can crack across score and fold lines. Foil stamping, embossing, and debossing add reflective or tactile emphasis. Keep every treatment on the finish map.
When should a box use a window or insert?
Use an insert when the product needs positioning, separation, or a controlled reveal. Paperboard dividers suit grouped items, while custom foam can stabilize individual shapes. Design the insert around the packed item, then check whether it can be removed within the intended packout. The insert changes internal dimensions and opening sequence, so it belongs in the same review as the exterior box.
A PET window can expose color, texture, or a distinctive product shape. PET is a clear polyester film, and window film is commonly around 0.2 to 0.3 mm. Keep the patch away from folds and closure points, and make sure the visible product does not show a confusing orientation.
How can I compare a design before approval?
A flat dieline, a printed proof, and an assembled sample catch different failures. A printed proof is the physical artwork check for color, type, and finish direction. The flat view confirms panel order, bleed, and cut lines; bleed is artwork that extends past the cut line. The assembled sample checks fit, closure, alignment, insert movement, and shelf orientation.
If the box will be mailed, test it in the intended outer pack and review the carrier cube. Dimensional weight for US ground services uses length x width x height divided by 139, so a larger-than-needed outer box can affect shipping. Review type at final size, especially near a score or fold.
Which products make useful design references?
Catalog formats give a structure to compare. Custom woozy bottle boxes help compare bottle-oriented structure and protection. Custom votive candle boxes provide a compact printed presentation reference. If the design must mail directly, compare custom tuck-top mailer boxes. The custom packaging design page is the hub for broader planning support.
What should I include in a custom box quote?
A quote starts with product dimensions, packed contents, opening sequence, desired structure, artwork status, quantity, finish direction, insert or window needs, and delivery destination. Add the board or laminate, print method, coverage, and any tooling requirement so the proof reflects the actual package.
- Inside length x width x depth, with inside or outside measurements marked.
- Product orientation, tissue, accessories, insert, divider, or window.
- Structure, board, print method, finish locations, and closure.
- Quantity, artwork status, destination, and whether a sample is needed.
Custom Packaging Lane quotes custom design boxes from a 100-unit minimum. Pricing is from $0.49 per unit at volume, quoted to spec. Production is typically 8 to 10 business days after proof approval, plus delivery. Free US shipping, free design support, and a free dieline are available. The $19.99 sample kit is credited to the first order. Send the product measurements and packed contents to start the quote.
Frequently Asked Questions
How do I start designing a custom box?
Start with the packed product, not the artwork. Measure the item and accessories, define the opening sequence, and decide whether the box will sit on a shelf, ship directly, or do both. Then map the panels on a dieline, place the main message, and select finishes that support the layout. A sample checks fit and closure.
What is the difference between a dieline and a proof?
A dieline shows the flat structure, including cut lines, folds, glue zones, and panel order. A proof applies artwork to that structure so color, copy, bleed, and placement can be reviewed. An assembled sample adds a fit, closure, alignment, and handling check. Treat the three views as separate review stages.
Which finish should I use on a designed box?
Matte or gloss lamination sets the base surface. Soft-touch changes hand feel, while spot UV creates contrast on selected graphics. Foil stamping, embossing, and debossing add reflective or tactile emphasis. Use each effect with a clear purpose, keep it away from folds and closures, and check small type at the actual package size.
Do custom design boxes need an insert?
A custom design box needs an insert when the product can move, needs separation, or should sit at a specific angle. Paperboard dividers suit grouped items, while foam can stabilize individual shapes. The insert changes internal dimensions and opening sequence, so design it with the product, tissue, and closure rather than adding it after the exterior is finished.
How does the custom box design process work?
Custom box design usually moves from product measurements and structure selection to dieline artwork, proof review, and production after approval. Share quantity, board, finish, and shipping details early because those inputs affect the quote and sample configuration. A physical sample gives the final check for fit, closure, alignment, and handling.












