




























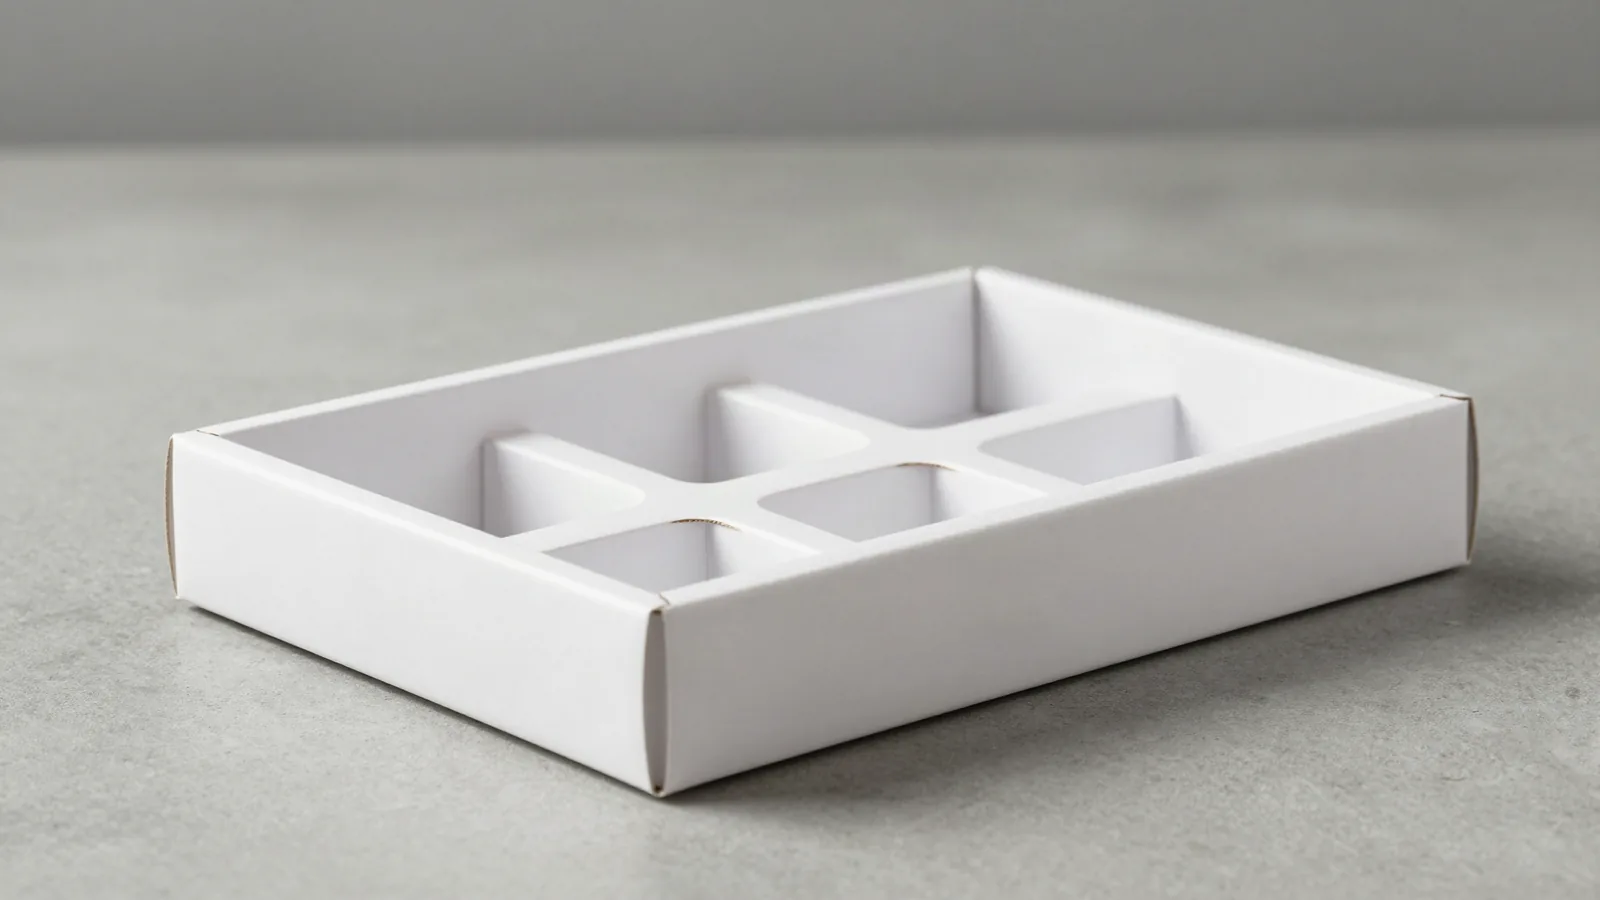




















































Foam cut out packaging puts a shaped opening into the way the product is shown and handled. The cutout can frame a visible face, create a finger-access point, or separate several pieces into planned positions. Foam cut out packaging is different from loose fill because the opening, cavity depth, and product orientation are drawn into the package itself.
Start with the product silhouette and the areas that should remain visible. Record length, width, depth, orientation, grip points, and any feature that should not touch the insert edge. State box dimensions as length x width x depth, using inside measurements for fit. About 1/16 in (1.5 mm) is a common planning tolerance, but the final opening also depends on foam compression, cavity depth, and how the lid or sleeve moves.
How should the cutout be layered inside the package?
A single shaped layer can create a clean presentation face, while stacked layers can make a shallow reveal above a deeper support cavity. A separate base can stop the product from dropping too far into the package. Each layer needs a job: hold the item, expose the face, leave finger access, or keep the outer shell clear.
| Packaging goal | Common build | Planning point |
|---|---|---|
| Visible product reveal | Shaped top layer with an open face | Silhouette readable and edge easy to grip |
| Layered support | Stacked foam around a deeper cavity | Each layer coordinated with product height |
| Rigid presentation | Chipboard 1.5 to 3 mm wrapped in 100 to 157 gsm art paper | Wrap, insert, and printed shell panels aligned |
| Enclosed visibility | PET window commonly 0.2 to 0.3 mm | Patch, opening, and closure path coordinated |
Which outer box structure fits a cutout?
A two-piece rigid box gives the cutout a fixed base and lid, while a drawer or slide and a magnetic flap change the direction and pace of the reveal. A folding carton can use a straight tuck end, reverse tuck end, or auto-lock bottom, each with a different filling and closure path. Choose the structure after the cutout map is clear.
The foam layer, shell, and closure have to move without scraping the product or covering the opening. A rigid box wrapped in chipboard and art paper creates a firm presentation shell. A folding carton uses less structural material but puts more work into scores, tabs, and closure alignment.
Which finishes work around a shaped opening?
Offset CMYK is common when the outer wrap needs detailed artwork, digital printing can suit short-run versions, and flexographic printing can suit a corrugated outer package. Matte or gloss lamination changes reflection across the printed panel. Soft-touch changes hand feel. Spot UV, foil stamping, embossing, and debossing can mark a logo or frame, but keep each effect away from folds, seams, and fragile cutout edges.
RGB art can shift when converted for press, low-resolution art can break up, and type too close to a score can fold into the wrong panel. The digital proof should show the flat artwork, cutout edge, foam layers, and assembled package. If the printed border is part of the product view, check its width after the shell is closed.
How should a PET window be planned?
A common PET window reference is 0.2 to 0.3 mm. PET is the clear film patch over an opening, so it lets the buyer see the product without lifting the lid. Keep the window edge, foam lip, printed border, and closure path in one layout. The patch has to stay clear of the cavity edge and any fold that changes the viewing angle.
An open cutout gives direct finger access. A PET window gives enclosed visibility but adds a patch and another edge to place. If the opening is too close to a fold, assembly can change how the product reads. If it is too narrow, the item may be technically visible but visually hidden.
For product-shape references, see wine box packaging, wax packaging, shoe box packaging, and seed packaging. These catalog routes sit beside the cutout question without replacing the cavity and closure check.
What should buyers check before the cutout is finalized?
The assembled proof settles fit questions that flat artwork cannot. Put the actual product into the proposed shell and check the visible face, grip points, cavity depth, foam layers, lid, sleeve, drawer, or magnetic flap. Look for movement, scrape points, blocked access, a border that disappears, or a closure that stops before its intended position.
- Confirm product orientation, visible face, grip points, cavity depth, and foam layer order.
- Check the insert against lid, sleeve, drawer, or magnetic flap movement.
- Keep print panels, window borders, scores, and cavity edges in the same drawing.
- Decide between direct product exposure and visibility through a PET window.
The sourcing route is wholesale custom packaging. Keep the cutout, shell, finish, and opening sequence in one brief.
Foam cut out packaging is quoted from a 100-unit minimum. Pricing is from $0.49 per unit at volume, quoted to spec. Production is typically 8 to 10 business days after proof approval, plus delivery. Free US shipping, free design support, and a free dieline are available. Order the $19.99 sample kit; it can be credited to the first order.
Frequently Asked Questions
What is foam cut out packaging?
Foam cut out packaging uses one or more shaped foam layers to hold a product in a planned opening. The cutout can expose the product face, create finger access, or separate several pieces. The outer shell, cavity depth, product orientation, lid clearance, and closure movement all belong in the same package check.
How many foam layers should a cutout use?
The layer count depends on product height, the depth of the cavity, the visible face, and the grip point needed for removal. One shaped layer can create a reveal, while stacked layers can build deeper support. Draw every layer against the product and closed shell so one layer does not block the lid or opening.
How does a PET window differ from an open cutout?
An open cutout gives direct access to the product and leaves the foam edge visible. A PET window uses a clear film patch, commonly referenced at 0.2 to 0.3 mm, to show the product while keeping it behind a surface. The window adds an edge, patch placement, and closure clearance to the layout.
Can rigid chipboard be used with foam cutouts?
Rigid chipboard from 1.5 to 3 mm wrapped in 100 to 157 gsm art paper can form the presentation shell around a foam cutout. The shell gives the package shape, while the foam controls the product position. Check the wrap, cavity edge, lid clearance, and opening direction together before fixing the layout.
How can I test a lid or drawer closure?
Test the actual product and foam layers inside the assembled package. For a lid or magnetic flap, check that the foam does not lift, scrape the item, cover the printed panel, or stop closure. For a drawer or slide, check pull direction, travel, and finger clearance separately.












