




























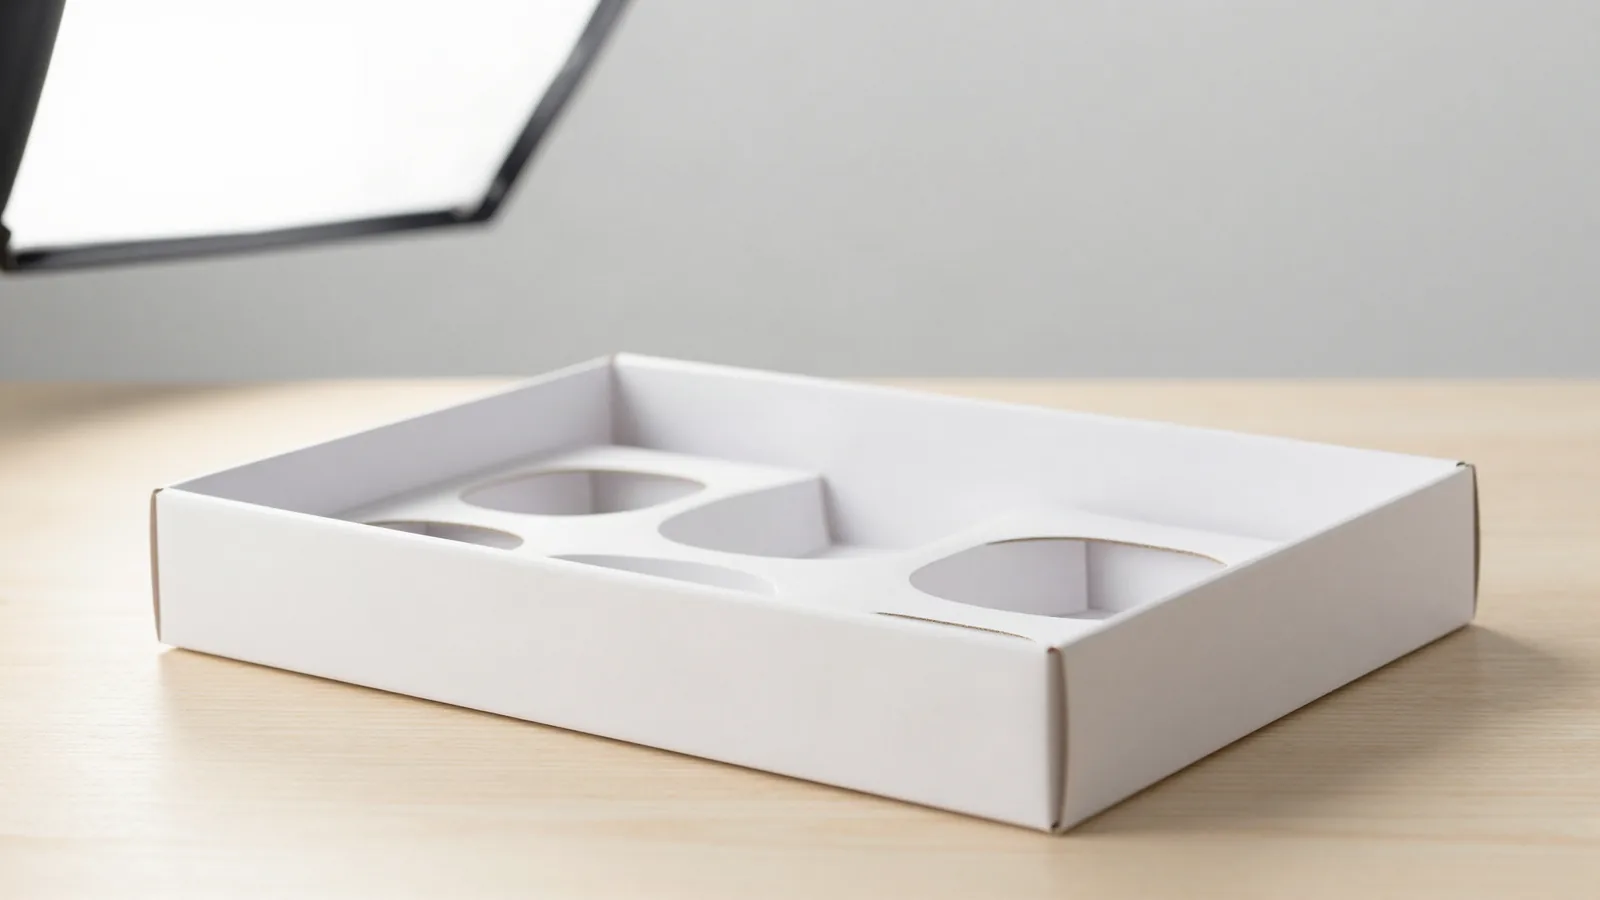




















































Custom soft foam insert boxes are built from a printed outer box and a soft foam insert cut around the packed product. A dieline is the flat cutting template that shows the panels, scores, glue tabs, and cut lines before printing. Start with the product footprint, fragile points, removal path, and packing sequence. A bottle box, candle box, vial carton, and mailer with an insert can all use cushioning, but their closures, loading directions, and presentation needs differ. Compare custom mailer boxes with inserts, custom vial boxes, custom votive candle boxes, and custom Woozy bottle boxes before choosing the shell.
How should a soft foam cavity be laid out?
The cavity starts with the packed product, not the outer box. A cavity is the cut space that receives the product. Soft foam gives a little under pressure, so a tight outline can pinch edges while an oversized outline lets the item move. Record orientation, contact points, removable parts, and accessories beside the product. Mark where fingers enter and which surfaces remain visible. For a bottle or vial, separate the container from the cap or accessory when that affects lift-out. If one box holds several products, draw fixed cavities and interchangeable sections separately.
Which box structure fits a foam insert?
A mailer with a roll end tuck top, commonly referenced as FEFCO 0427, suits an insert that will travel inside a parcel. A straight tuck end or reverse tuck end keeps the package in a folding-carton format. An auto-lock bottom or crash-lock base changes the assembly and loading sequence. A drawer or slide structure creates a pull-out motion. A two-piece rigid box separates lid and base, while a magnetic flap creates another opening path. Check the lid clearance, panel area, glue tabs, and insert height before the cavity is frozen.
What board should surround the soft foam?
Folding cartons commonly use SBS, C1S, or C2S paperboard in the 12 to 24 pt range. SBS means solid bleached sulfate, C1S means coated on one side, and C2S means coated on two sides. Kraft board in the 18 to 24 pt range is another paperboard route. Rigid construction commonly uses 1.5 to 3 mm chipboard wrapped in 100 to 157 gsm art paper. Board choice follows item weight, insert depth, printed coverage, closure, and whether the package travels inside an outer shipper.
| Board reference | Typical range | Common use | What to check |
|---|---|---|---|
| SBS, C1S, or C2S paperboard | 12 to 24 pt | Folding carton | Print area and score placement |
| Kraft board | 18 to 24 pt | Folding carton | Surface direction and ink coverage |
| Chipboard with art paper | 1.5 to 3 mm chipboard, 100 to 157 gsm wrap | Rigid lid and base | Insert depth and lid clearance |
Which print finishes work on the outer carton?
Offset CMYK suits detailed paperboard artwork. Digital printing can suit a short run or a test direction, while offset becomes more practical as the run and ink coverage grow. The crossover is quoted to the actual job. Matte or gloss lamination changes the surface appearance. Soft-touch changes the feel of a panel. Spot UV, foil stamping, embossing, and debossing need their own marks on the artwork. Low-resolution art stays soft at output. RGB art can shift when it is converted for press. Type set too close to a score can break across a fold, and missing bleed can expose a white edge. Keep finishes away from glue tabs, seams, cavity openings, and foam contact areas.
How much clearance should the cavity have?
About 1/16 in, or 1.5 mm, is a common packaging planning tolerance. Write box dimensions as length x width x depth, then label inside measurements separately from outside measurements. Measure the product at the points that change the cutout: soft surfaces, protrusions, closures, corners, and the grip area. Check the foam against the actual packed arrangement, not only a catalog drawing. The insert must leave room for the lid to close and for a card or sleeve to fit above the product. A cavity cut to the wrong size can make removal awkward or leave the product rattling inside the box.
What should I include in a soft foam insert brief?
The first page of the brief should name the product and the job it has to do. Send the product list, cavity map, orientation, removal method, insert color direction if known, outer structure, board reference, printed panels, finish areas, closure, packed dimensions, quantity, destination, and artwork status. State whether the box will be mailed or handed over locally. If versions share one shell, show which cavities stay fixed and which change. Custom packaging design support can organize the dieline and artwork handoff.
Custom Packaging Lane quotes these boxes to spec from a 100-unit minimum. Pricing is from $0.49 per unit at volume, quoted to spec. The quote also reflects the selected structure, board, insert layout, print coverage, finishing, quantity, tooling, and shipping zone. Production is typically 8 to 10 business days after proof approval, plus delivery. Free US shipping, free design support, and a free dieline are included in the quoted scope. The $19.99 sample kit is credited to the first order.
Frequently Asked Questions
What is the difference between a soft foam insert and a paperboard insert?
A soft foam insert yields slightly around the product and can hold a shaped cavity with finger access. A paperboard insert uses scored or die-cut panels and keeps its form through the fold pattern. The choice changes cavity pressure, visible surfaces, assembly, and the space needed inside the outer box. Specify the product and removal motion before choosing the insert.
Can a mailer box hold a soft foam insert?
A mailer box can hold a soft foam insert when the roll end tuck top, commonly referenced as FEFCO 0427, leaves enough interior height for the foam and product. Check the opening direction, lid clearance, glue tabs, and insert contact points. A folding carton or rigid box changes the same fit, so the outer structure belongs in the cavity drawing.
What causes a product to move inside a foam cavity?
A product can move when the cavity is cut larger than the packed footprint, when soft surfaces were not measured, or when an accessory changes the stack height. Record the product orientation, contact points, and removal path. Test the lid with the actual packed arrangement, including cards, caps, sleeves, and removable parts.
How should artwork be prepared for an insert box?
Artwork for an insert box should show the dieline, bleed, folds, scores, glue tabs, cavity opening, and finish areas in one file set. Low-resolution art stays soft, RGB colors can shift during press conversion, and type too close to a score can fold badly. Keep important panels clear of foam contact and closure movement.
What does a packaging dieline show?
A packaging dieline is the flat template used to cut and score the outer box. It shows panel order, cut lines, folds, glue tabs, and the areas available for print. For a soft foam insert box, the dieline should be checked with the cavity layout, lid clearance, insert height, and packed product before artwork is approved.












